Self-hosting Git Repositories with Gitea
Published at July 19, 2019 · 10 min read
Share on:Gitea is git repository server that is open source, light weight, and includes just as other git services. GitHub is one of the primary places on the Internet to share source code, and many projects store their code there. Gitea shares many of the features you would find on Github and you can easily self-host it.
In this tutorial we’re going to setup Gitea using Docker and will expose it to the Internet using Packetriot. Since Gitea is both a web application and git server, we’ll be creating rules for HTTP/S and TCP traffic. Let’s get started!
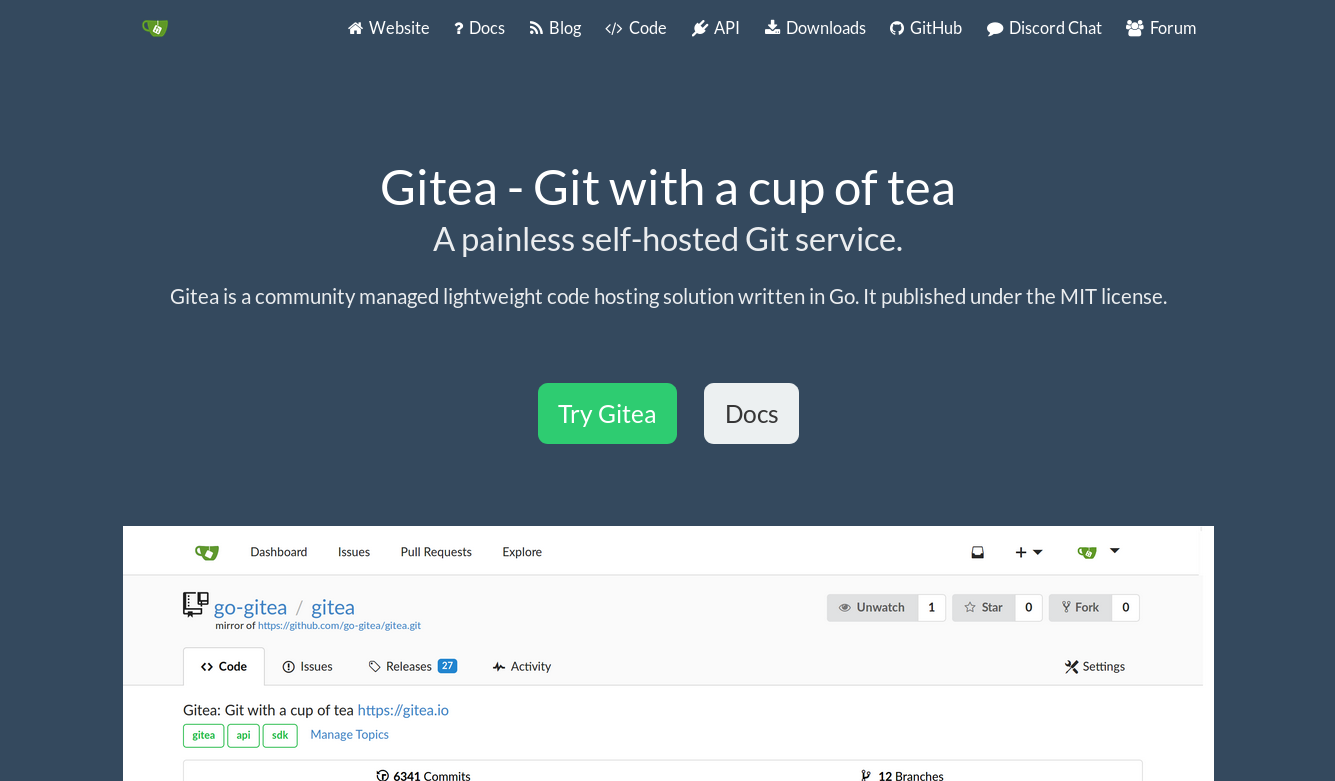
Gitea is a light weight git repository server.
The Compose File
We’ll use a Docker compose file to start our configuration of our Gitea server. This compose file is based on the basic compose file you’ll find on the Gitea installation page.
version: "2"

networks:
  gitea:
    external: false

services:
  server:
    image: gitea/gitea:latest
    environment:
      - USER_UID=1000
      - USER_GID=1000
    restart: always
    networks:
      - gitea
    volumes:
      - ./gitea:/data
    ports:
      - "3000:3000"
      - "222:22"
This compose file will create a new network called gitea that will isolate this containe from the default network Docker creates. It will also mount a directory from the host in the container so that the data Gitea creates and stores will be available on the host. This is what will enable us to update the container when Gitea server is updated by the authors.
Gitea requires a database to store information about the users, repositories, etc… By default, it will use SQLite, but you may want to refer to the Gitea documentation and consider using a more robust database such as MySQL or Postgres if you expect heavy usage of your instance.
Finally, the ports on the host, 3000 (HTTP) and 222 (SSH), are mapped to internally running services inside the container: an HTTP and OpenSSH server.
Setting up the Host
We’re going to assume that you have Docker already installed. If not, then check out this Docker CE page for instructions to install and setup Docker on your system. The steps we walk through in the tutorial will work with any platform you choose.
Let’s prepare our host to create this container. For Linux and Mac systems, we’ll create a new directory in /opt called gitea that will store and host all the data for the Gitea server. Store your modified compose file here and create a sub-directory called data that will use for storing all the containers data.
For Windows users, let’s create a directory called Gitea on the C: drive and create the same sub-directories.
Changes to compose file for Linux & MacOS:
    volumes:
-      - ./gitea:/data
+      - /opt/gitea/data:/data
Changes to compose file for Windows:
    volumes:
-      - ./gitea:/data
+      - C:\Gitea\data:/data
Creating the Container
Let’s change to the respective gitea directory. Make sure you’ve copy your updated compose file here. It’ll be useful to keep the docker-compose.yml file here when you want to make updates to the container image. As the Gitea authors update their software and push out new images, you’ll want to update it from time-to-time.
Once we’re in the directory we’ll use the docker-compose command to build the container, that’s it. Use the following example set of steps as a guide.
[user@host] cd /opt/gitea
[user@host] docker pull gitea/gitea:latest
[user@host] tree .
.
├── data
└── docker-compose.yml

1 directory, 1 file

[user@host] docker-compose up -d

[user@host] docker ps
47d0ff44ea40        gitea/gitea:latest   "/usr/bin/entrypoint…"   5 minutes ago       Up 4 minutes           0.0.0.0:3000->3000/tcp, 0.0.0.0:222->22/tcp   gitea_server_1
Our Gitea container will be created and started in the background. The compose file instructs Docker to keep the container running at all times, even in-between reboots or restarting the Docker service.
Configuring Gitea
Let’s visit the address http://127.0.0.1:3000 to setup Gitea. You will want to click the link Register to setup options for the site and create the administrative user.
Gitea welcome page
Our Gitea server will use the domain name git.packetdemo.com. So we’ll be updating the SSH server domain and Base URL to reflect our domain name. If there’s a custom domain you want to use, just substitute it in the steps.
Packetriot will assign a hostname to a tunnel, for example: winter-fox-1234.pktriot.net. You can use any sub-domains with that hostname: git.winter-fox-1234.pktriot.net.
We’ll maintain default settings for the other options since this tutorial only requires a basic Gitea setup.
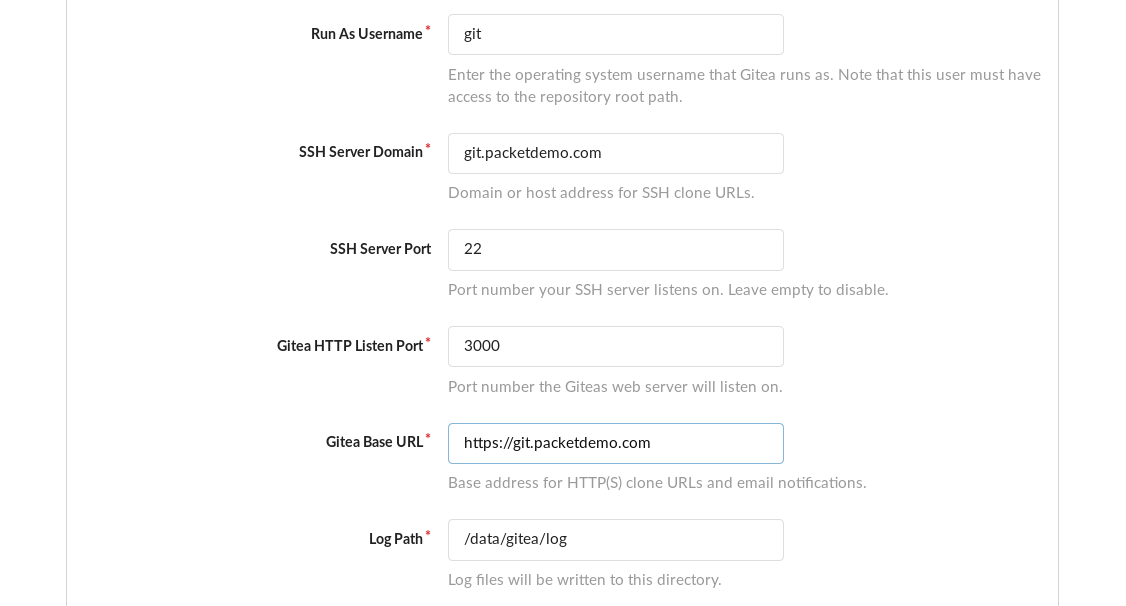
Initial configuration with default options.
Next’ll create our administrative user. The name admin is reserved. Once you complete this step click the Install Gitea button and it setup the server and initialize its database. If you list the contents of /opt/gitea/data or C:\Gitea\data, you’ll find there’s some new directories created.
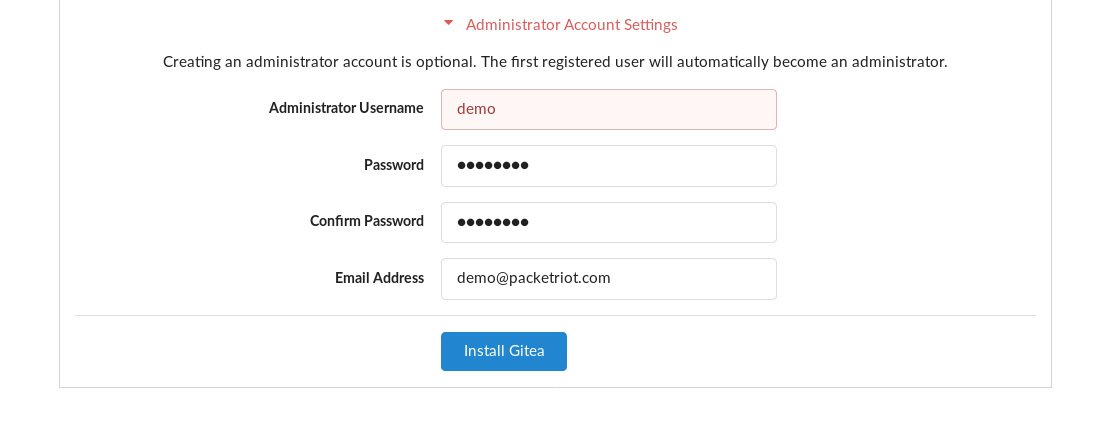
Site configuration.
You’ll also find that the browser was redirect to your base URL. But it’s not accessible yet because our tunnel hasn’t been created. This last step will connect everything together, then we’ll test everything end-to-end.
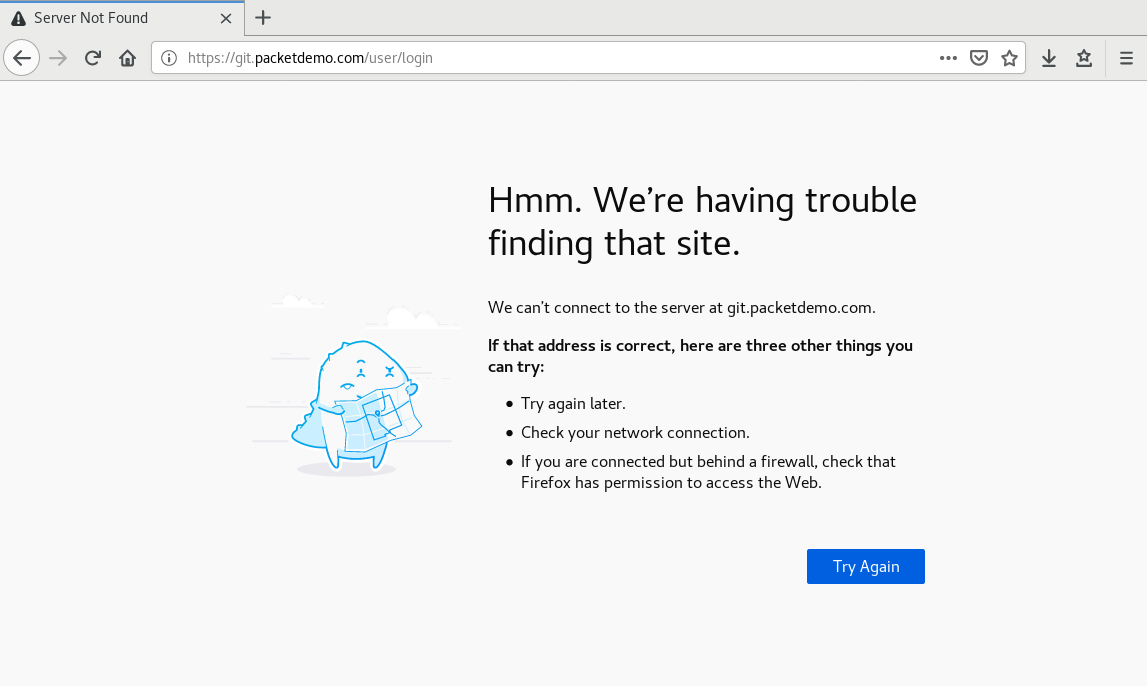
Time to create a tunnel.
Setting up the Tunnel
Download the right version of the Packetriot client for your OS. We’ll quickly run through the steps for setting up a tunnel, including the initial configuration step. This is covered in more detail in other tutorials.
We’re going to use the standalone client in this tutorial but you might want to use the Packetriot container image to have it running alongside your Gitea server.
[user@host] pktriot configure

Authenticate this client by visiting this URL:
https://packetriot.com/client/identauth/6b8cc01c36acbb36....

Identified and authenticated!

Choose the region for the edge server to connect to:
+------------------------+
| #   | Region           |
+------------------------+
| 1   | us-east          |
+------------------------+
| 2   | us-west          |
+------------------------+
| 3   | eu-central       |
+------------------------+
| 4   | asia-southeast   |
+------------------------+

Input selection [#]: 1

# print out the tunnel info, hostname and server information.
[user@host] pktriot --config gitea.json info
Client:
	Hostname: hidden-frog-81014.pktriot.net
	Server: us-east-63815.packetriot.net
	IP: 138.197.66.62
DNS
Before we go any further, you’ll want to make sure that any custom domain you’re using has been verified. Visit this page in the dashboard and follow the steps in the docs to verify ownership of the domain.
Once your domain is verified you’ll also want to create a DNS CNAME record for the domain you choose. The value of the CNAME record will be hostname assigned to your tunnel: hidden-frog-81014.pktriot.net. You can also create an A record as well. The value for the A record is the IP address of the server you connect to. The table below illustrates the respective options.
Do not use both!
You can test DNS was setup correctly using the dig command if its available on your system.
| Type | Hostname | Value | TTL |
|---|---|---|---|
| CNAME | git.packetdemo.com | hidden-frog-81014.pktriot.net | 1800 |
| A | git.packetdemo.com | 138.197.66.62 | 1800 |
Traffic Rules
We’ll need to create two rules. One for the HTTP/S traffic and another for TCP traffic that will handle the SSH traffic to the git server. The Packetriot client supports Let’s Encrypt for automatic HTTPS, so we will enable that, and secure-redirect, to ensure that all traffic is encrypted.
We need to request a TCP port for the server to relay the SSH traffic.
Recall that the port on this host that will map to the ssh server in the container is port 222, and that the http server is mapped to port 3000.
Follow the steps below to setup all the traffic rules.
[user@host] pktriot tunnel tcp allocate
Allocated port 22564

[user@host] pktriot tunnel tcp forward --port 22564 --destination 127.0.0.1 --dstport 222

[user@host] pktriot tunnel http add --domain git.packetdemo.com --letsencrypt --destination 127.0.0.1 --http 3000

# print out all the rules to check for errors
[user@host] pktriot info
Client:
	Hostname: hidden-frog-81014.pktriot.net
	Server: us-east-63815.packetriot.net
	IP: 138.197.66.62

HTTP services:
+------------------------------------------------------------------------------------+
| Domain               | Destination   | HTTP   | Secure   | TLS   | Document Root   |
+------------------------------------------------------------------------------------+
| git.packetdemo.com   | 127.0.0.1     | 3000   | true     | 443   | --              |
+------------------------------------------------------------------------------------+

TCP services:
+---------------------------------------+
| Port    | Destination   | Dest Port   |
+---------------------------------------+
| 22564   | 127.0.0.1     | 222         |
+---------------------------------------+

# start the client
[user@host] pktriot start
Let’s return to our browser and refresh the page. The address should be https://git.packetdemo.com. As you can see the page loaded up over TLS. You’ll notice that there was some initial delay. Part of it is DNS resolution but the majority of the wait time is the Packetriot client setting up new TLS certificates for the first time.
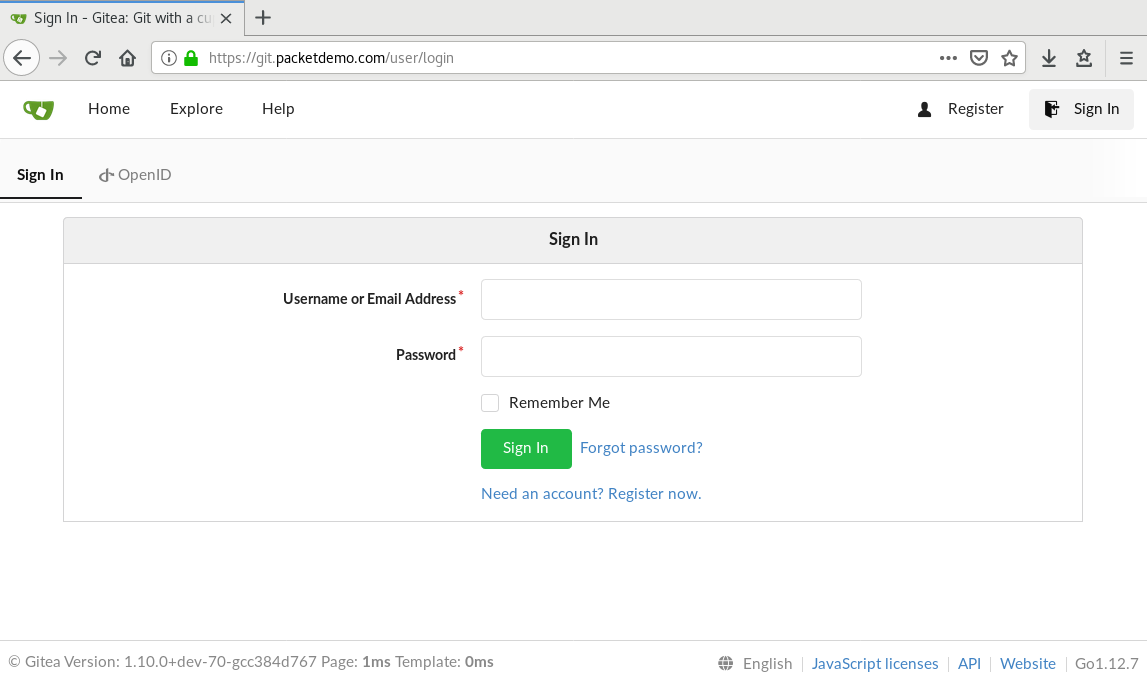
Login screen.
Login using your administrative account. Your dashboard is empty at the moment but we will be creating a project to end-to-end test this setup.
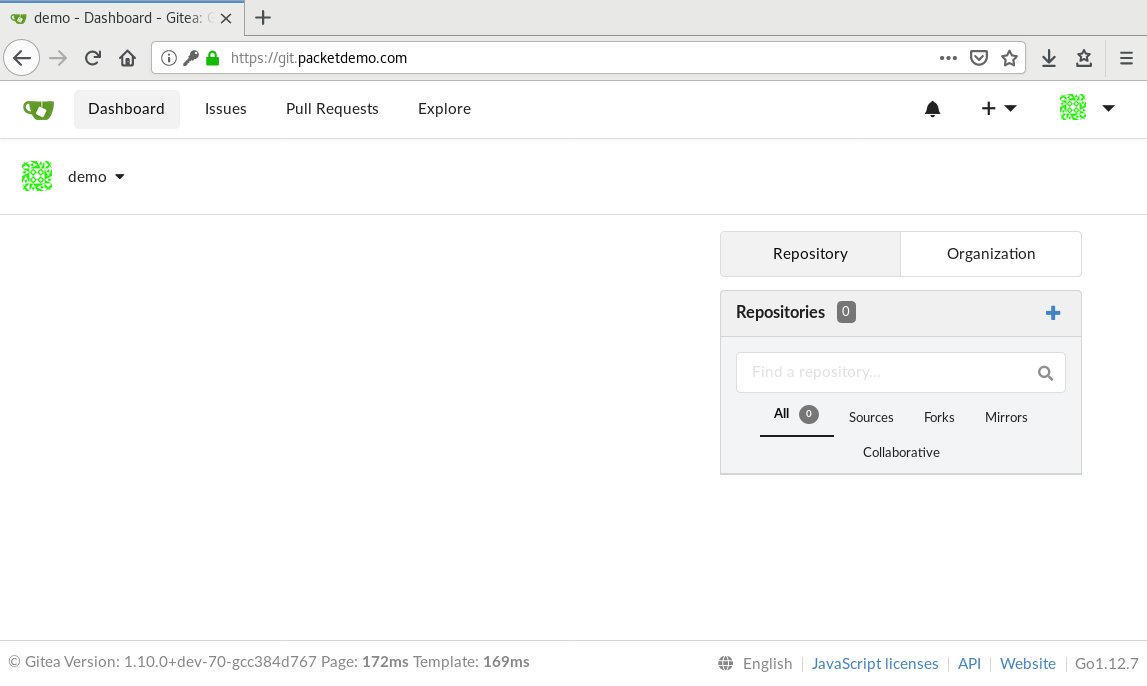
An empty Gitea dashboard.
Client Configuration
Because a git server is using SSH as one of the methods for cloning projects or pushing changes to repositories, we’ll want to make the workflow as seamless as possible. Using an odd port, like 22564, is going to break things if we don’t do anything.
Fortunately, the OpenSSH client has a local configuration file you can edit that will make this seemaless. It’s located in $HOME/.ssh/config.
On Windows 10, assuming you’ve installed the git tools from the official website, the path to your directory will be C:\Users\<username\.ssh\config.
Update the SSH client configuration with the block below. It will instruct any application using the SSH client to use port 22564 instead of the default 22. This will help us prevent any issues with breaking programs like git, that is used for cloning and pushing updates to repositories.
Host git.packetdemo.com
	Port 22564
You can test that this is working by trying to ssh to domain you selected for your Gitea server. You won’t be able to authenticate, yet, but a successful connection attempt will verify your SSH client config has been updated correctly.
[user@host] ssh git@git.packetdemo.com
The authenticity of host '[git.packetdemo.com]:22564 ([138.197.66.62]:22564)' can't be established.
ECDSA key fingerprint is SHA256:isWFG94nPbWu/WK6zG7ZgpMkr2sEVxvCp95yX1iS+/8.
Are you sure you want to continue connecting (yes/no)? yes
Warning: Permanently added '[git.packetdemo.com]:22564,[138.197.66.62]:22564' (ECDSA) to the list of known hosts.
git@git.packetdemo.com: Permission denied (publickey).
Everything is setup at this point: Gitea server, Packetriot tunnel, and SSH client configuration. But we need to create a project and setup SSH keys to test everything completely.
Create First Project
At this point you’ll want to import some SSH keys for your user. In your browser, navigate to the Settings->SSH / GPG Keys page. Create or import and existing key pair here.
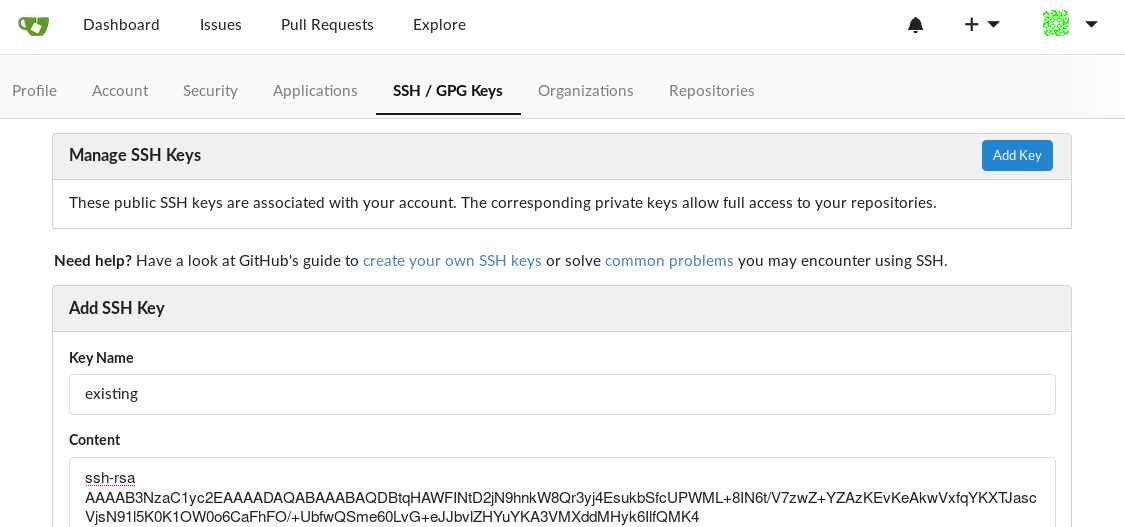
Import public SSH key.
Next, let’s create a new project with the name example and make it private. Initialize a basic README as well so when we clone this repo it won’t be empty.
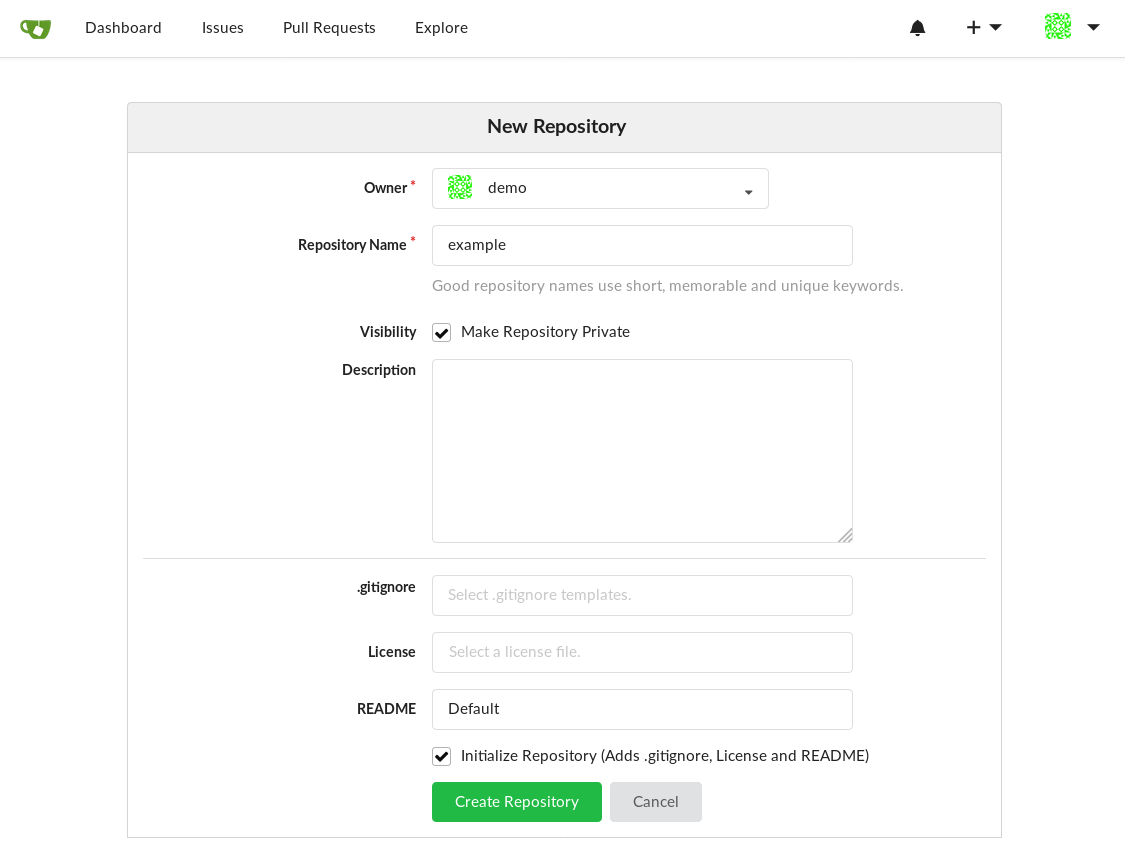
Create new repository.
Let’s clone this project, make a small change to the README, commit it and verify that we can push changes to the server. Note, it’s because we made that change earlier in our SSH client configuration that will make this all work seamlessly.
[user@host] git clone git@git.packetdemo.com:demo/example.git
Cloning into 'example'...
remote: Enumerating objects: 3, done.
remote: Counting objects: 100% (3/3), done.
remote: Total 3 (delta 0), reused 0 (delta 0)
Receiving objects: 100% (3/3), done.

[user@host] cd example
[user@host] echo "" >> README.md
[user@host] echo "Adding some content to our readme." >> README.md

[user@host] git commit README.md -m "updated content"
 1 file changed, 2 insertions(+)
[user@host] git push
Counting objects: 3, done.
Writing objects: 100% (3/3), 292 bytes | 292.00 KiB/s, done.
Total 3 (delta 0), reused 0 (delta 0)
To git.packetdemo.com:demo/example.git
   984e5a5..64cdaac  master -> master
Conclusion
In this tutorial we setup a Gitea server using mostly default settings so we can walk-through how to run it on our own using Docker. We used good practices like mounting directories on the host into the container, so we can maintain data between image updates or accidents.
To expose our Gitea server to the Internet we created a new Packetriot tunnel. First, we had to configure it, allocate a TCP port and create traffic rules for HTTP/S and TCP. The TCP relay we created was for SSH, and by editing our local SSH client config, we’re able to use a non-standard SSH port seamlessly with git and ssh.
I hope this tutorial was helpful. Gitea is very lightweight and simple to setup. Have any feedback or comments? Please tweet or DM on Twitter. Or just contact us via email.
Cheers!
The Packetriot team