Host a Private Docker Registry
Published at March 27, 2020 · 10 min read
Share on:In this tutorial we’re going to show you how to setup a private Docker Registry, make it publicly available, password-protected and use TLS. It’ll be secure and only available to you and your team, wherever they’re located.
Docker Image Registry
Hosting a private Docker Registry is helpful for teams that are building containers to deploy software and services. Websites like Docker Hub provide free public repos but not all teams want their containers to be public. Private repos require a paid plan that begins at $7/month.
AWS, Google, Azure and other public clouds also provide Docker Registry services as well. These are all priced around $0.10/Gb. For example if you were using 50 Gb of storage across any number of repos you’re hosting them with, it could be around $5/month.
If you maintain a lot of Docker images this could potentially add up. If you have experience building containers you know how difficult it can be to trim the size of a container. It’s a process to optimize size.
Requirements
This is what you need to run through this tutorial. We need Docker installed, in addition we’ll use docker-compose to make setting this up and maintaining (software updates) more convenient.
- Packetriot account
- Docker CE installed (Linux, Mac or Windows)
- Docker-compose
Setup the Containers
I use a convention for deploying a set of containers using docker-compose. I create a directory for storing the compose file and any other small configuration items that I want available my host system. I use Docker volumes for storing large amounts of data and making it accesseable and recoverable in-case the containers are accidentally destroyed.
This convention makes upgrades easy to perform and we’ll review that later in this tutorial.
To start, let’s create a directory called private-registry and place our compose file docker-compose.yml there.
[user@host:~/] mkdir private-registry

# change directories
[user@host:~/] cd private-registry

[user@host:~/private-registry ]
Below is the compose file we’ll use. It creates two containers, one for the Packetriot client and another for the Docker Registry. It’s good practice to segment containers that don’t need to communicate. To do this we create a separate network called registry-net.
Finally, our registry will store a lot of data. Container images can consume space quickly and we don’t want to lose any of that data accidently. We also want to spare the hosts that are pushing these images time. For that we want to reuse existing layers whenever possible throughout the operational life of this registry. So we define a volume called registry-data to store image data.
version: '2'

networks:
  registry-net:
    external: false

volumes:
  registry-data:

services:
  pktriot:
    container_name: tunnel
    image: packetriot/pktriot:latest
    networks:
      - registry-net
    restart: unless-stopped
    volumes:
      - ./pktriot:/data

  registry:
    container_name: registry
    image: registry:2
    networks:
      - registry-net
    restart: unless-stopped
    environment:
      REGISTRY_AUTH: htpasswd
      REGISTRY_AUTH_HTPASSWD_REALM: "Registry Realm"
      REGISTRY_AUTH_HTPASSWD_PATH: /auth/htpasswd
    volumes:
      - registry-data:/var/lib/registry
      - ./auth:/auth
There are some other important items to highlight in this compose file. Under the pktriot service we have a local directory mapped to /data in that container. /data is the default Packetriot client configuration directory for containers. It’s useful to maintain this outside the container so we can upgrade our container. You want to avoid reconfigure your tunnel just to upgrade the client.
We also added a volume mapping for the registry container. In addition, we mapped a local directory called auth to /auth in the container. This is where we will store the hashed authentication credentials. Generating them is our next step.
Create a sub-directory called auth inside our private-registry directory. We are going to create and hash credentials for Docker Registry using a program called htpasswd. If you don’t have htpasswd already installed, here are some commands to install on different Linux systems.
# debian or ubuntu
[user@host:~/private-registry ] apt-get install apache2-utils

# latest fedora releases
[user@host:~/private-registry ] dnf install httpd-tools

# centos 7.x
[user@host:~/private-registry ] yum install httpd-tools
On a Linux system you can use the following command to create a hash for registry credentials. Replace username and secretpassword with your own values.
[user@host:~/private-registry ] mkdir auth

[user@host:~/private-registry ] htpasswd -Bbn username secretpassword > auth/htpasswd
Not on a Linux system? Well we can use the registry:2 container image to do this as well.
[user@host:~/private-registry ] mkdir auth

[user@host:~/private-registry ] docker run --entrypoint htpasswd registry:2 -Bbn username secretpassword > auth/htpasswd
Check out the official documentation for more options on setting up authentication for a registry.
We’re ready at this point to create our containers and start them up. Just run the following command docker-compose up -d.
[user@host:~/private-registry ] docker-compose up -d

Creating network "services_registry-net" with the default driver
Creating volume "services_registry-data" with default driver
Pulling pktriot (packetriot/pktriot:latest)...
latest: Pulling from packetriot/pktriot
e7c96db7181b: Pull complete
bf73012dc58e: Pull complete
144a721ceff9: Pull complete
94370349f88c: Pull complete
1ca8e6a39ad4: Pull complete
Digest: sha256:c0008414d7c0dd40d29d4150bdc67b0d32ae7454372629aafcff6a354f250343
Status: Downloaded newer image for packetriot/pktriot:latest
Pulling registry (registry:2)...
2: Pulling from library/registry
486039affc0a: Pull complete
ba51a3b098e6: Pull complete
8bb4c43d6c8e: Pull complete
6f5f453e5f2d: Pull complete
42bc10b72f42: Pull complete
Digest: sha256:7d081088e4bfd632a88e3f3bcd9e007ef44a796fddfe3261407a3f9f04abe1e7
Status: Downloaded newer image for registry:2
Creating tunnel   ... done
Creating registry ... done
Docker-compose will create our the registry-net network for our two containers and the volume for our registry. It will pull down the latest versions of both of our images for the tags we’re using in our compose file. Run the command docker ps and check that our containers are running.
[user@host:~/private-registry ] docker-compose up -d
CONTAINER ID        IMAGE                       COMMAND                  CREATED              STATUS              PORTS               NAMES
74545f6b7c1b        packetriot/pktriot:latest   "/usr/bin/pktriot --…"   About a minute ago   Up About a minute                       tunnel
000d2a809b65        registry:2                  "/entrypoint.sh /etc…"   About a minute ago   Up About a minute   5000/tcp            registry
Our containers are created, the registry is running but our Packetriot client is not yet configured.
Configure Packetriot Client
The Packetriot client container works just like the client when it’s locally available on your computer. However, we need to use the command docker exec -it tunnel to execute commands inside the container.
Before we continue, print out the contents of the local pktriot directory. We’ll see a config.json file there. It’s empty, as expected.
[user@host:~/private-registry ] ls pktriot/
config.json

[user@host:~/private-registry ] cat pktriot/config.json
{}

[user@host:~/private-registry ]
We’re going to configure our client like normal. Check our our quickstart for a quick run-through of configuring tunnels.
[user@host:~/private-registry ] docker exec -it tunnel pktriot configure
Choose a path to the configuration file:
[1] /etc/pktriot/config.json
[2] /data/config.json
[3] /root/.pktriot/config.json

Input selection [#]: 2

Authenticate client with login credentials:

Email: user@example.com
Password:
Authenticated!

Choose the region for the edge server to connect to:
+------------------------+
| #   | Region           |
+------------------------+
| 1   | us-east          |
+------------------------+
| 2   | us-west          |
+------------------------+
| 3   | eu-central       |
+------------------------+
| 4   | asia-southeast   |
+------------------------+

Input selection [#]: 1

Tunnel configuration:
  Hostname: epic-butterfly-62904.pktriot.net
  Server: us-east-65319.packetriot.net
  IP: 159.203.126.35

Start the tunnel and visit URL to check its working:
  pktriot --config /data/config.json start
  https://epic-butterfly-62904.pktriot.net

Detailed help and step-by-step tutorials:
  https://packetriot.com/docs
  https://packetriot.com/tutorials.

Need more support?
  Email: packetriot@gmail
  Twitter: @packetriot (please follow us, we like new friends :)
After we configure the tunnel the client will print out all the information we need to setup our HTTP/S traffic rules. Note the hostname assigned to this tunnel epic-butterfly-62904.pktriot.net. Yours will obviously be different.
Tunnel configuration:
  Hostname: epic-butterfly-62904.pktriot.net
  Server: us-east-65319.packetriot.net
  IP: 159.203.126.35
We will not use a custom domain in this tutorial. If you want to see that step-by-step guide let us know and we will put it together. Briefly, using a custom domain would require:
- Verifying ownership of the domain
- Create an DNS record (A or CNAME) that will point to the server we connect to,
us-east-65319.packetriot.netor159.203.126. - Substitute the assigned hostname in the commands below with your custom domain.
- Enable Let’s Encrypt with the –letsencrypt flag (if you plan to use LE)
Back to our tutorial…
We can quickly verify that our tunnel is running by just restarting the container. When there are no rules a client will just provide the default “Welcome” page when you visit the hostname assigned to your tunnel.
[user@host:~/private-registry ] docker restart tunnel
In our example, we would visit https://epic-butterfly-62904.pktriot.net in our browser to verify the tunnel is working as expected.
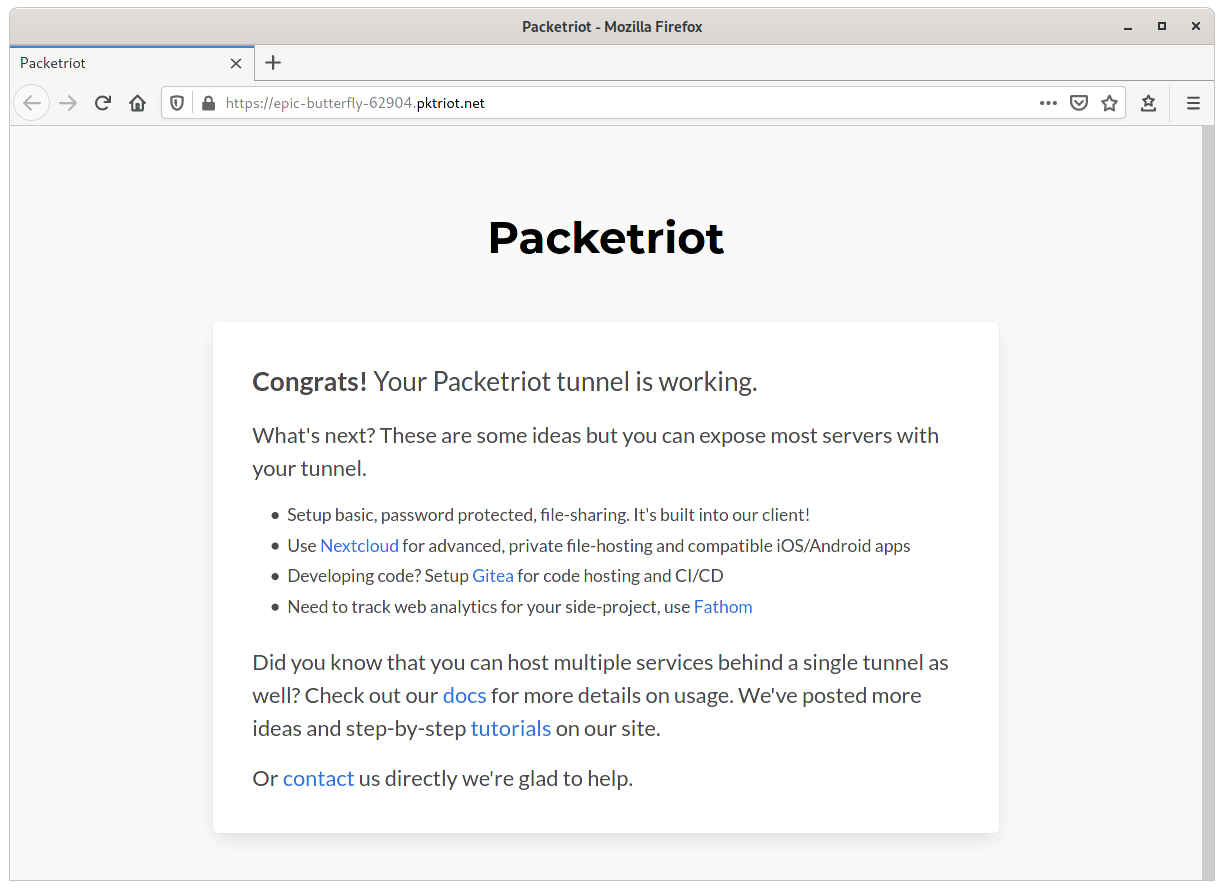
Tunnel Welcome Page
Let’s configure our HTTP/S traffic rule. The hostname assigned to our tunnel will make use the wildcard TLS certificates *.pktriot.net on the Packetriot server we connect to, so that takes cares of HTTPS support.
When you run a set of containers in a private Docker network, it will provide name resolution for the container. E.g. registry will be resolved to the containers private IP. Since these IPs can change, we will use the container name, this will eliminate any need to maintain our traffic rule.
Our rule will forward to the registry container using the --destination flag and since the registry listens on port 5000 so we will pass that to use that as the argument with --http.
[user@host:~/private-registry ] pktriot tunnel http add --domain epic-butterfly-62904.pktriot.net \
	--destination registry --http 5000

[user@host:~/private-registry ] docker restart tunnel
Restarting the tunnel is necessary. Our new rule will be setup once the container restarts and now https://epic-butterfly-62904.pktriot.net will make our Docker Registry accessible over TLS. Since we added authentication, it’ll be private.
Verify the tunnel has connected and our new rule will be printed out as well.
[user@host:~/private-registry ] docker logs tunnel
Connecting...

Running HTTP services:
+----------------------------------------------------------------------------------------------------------+
| Domain                             | Destination   | HTTP   | TLS   | Secure   | Protect   | Site Root   |
+----------------------------------------------------------------------------------------------------------+
| epic-butterfly-62904.pktriot.net   | registry      | 5000   | 0     | true     |           | --          |
+----------------------------------------------------------------------------------------------------------+
Test
From the computer you’re working on, or a remote one, connect to the Docker Registry using the command docker login
[user@host:~/private-registry ] docker login epic-butterfly-62904.pktriot.net
Username: username
Password:
WARNING! Your password will be stored unencrypted in /home/user/.docker/config.json.
Configure a credential helper to remove this warning. See
https://docs.docker.com/engine/reference/commandline/login/#credentials-store

Login Succeeded
Congrats! Our private Docker Registry is working. Let’s do a quick test to make sure it works. We’ll pull down the hello-world image, tag it and then push to our registry.
[user@host:~/private-registry ] docker pull hello-world

[user@host:~/private-registry ] docker tag hello-world epic-butterfly-62904.pktriot.net/hello-world

[user@host:~/private-registry ] docker push epic-butterfly-62904.pktriot.net/hello-world
The push refers to repository [epic-butterfly-62904.pktriot.net/hello-world]
af0b15c8625b: Pushed
latest: digest: sha256:92c7f9c92844bbbb5d0a101b22f7c2a7949e40f8ea90c8b3bc396879d95e899a size: 524

[user@host:~/private-registry ]
Updating Our Registry
Updating our set of containers is simple. We’ve configured them such that the our authentication credentials, client configuration and image data are all hosted and accessible outside of the containers. The containers can be destroyed and recreated and to update the underlying software in the containers.
We’ll perform some update steps and then verify we can pull down that hello-world from our registry when we bring them back up.
# stop the containers
[user@host:~/private-registry ] docker-compose stop
Stopping tunnel   ... done
Stopping registry ... done

# destroy the containers
[user@host:~/private-registry ] docker-compose rm
Going to remove tunnel, registry
Are you sure? [yN] y
Removing tunnel   ... done
Removing registry ... done

# recreate the containers, note, when updates exist the typical
# "image pulling layers" information will be printed
[user@host:~/private-registry ] docker-compose up -d
Creating tunnel   ... done
Creating registry ... done
Verify we can still connect to our registry after this “updating” operation.
[user@host:~/private-registry ] docker pull epic-butterfly-62904.pktriot.net/hello-world:latest
latest: Pulling from hello-world
Digest: sha256:92c7f9c92844bbbb5d0a101b22f7c2a7949e40f8ea90c8b3bc396879d95e899a
Status: Image is up to date for epic-butterfly-62904.pktriot.net/hello-world:latest
epic-butterfly-62904.pktriot.net/hello-world:latest
Awesome, it works! Now you’re ready to host and maintain your own private, secure and Internet accessible Docker Registry.
Conclusion
The process for setting up a private Docker Registry is pretty straight-forward, especially for those already familiar with Docker and the Packetriot client.
What else could we do next? I would setup the registry using a custom domain. Following the normal setup for exposing any service with a custom domain would apply here, and you can use Let’s Encrypt for your TLS certs as well.
It’s important to note that container images can be quite big. Pushing and pulling from your private registry will use bandwidth. You can definitely exercise this tutorial on your free tier but for practical use, you will want to sign up for at least a Basic ($5/month) plan.
Have any questions, please contact us or tweet us. And if you really you really found this helpful we invite you to follow us (we like friends :) share on social media or Hacker News.
Cheers!