Self-host Wallabag & Archive the Web
Published at July 5, 2020 · 14 min read
Share on:Wallabag is an opensource application for saving and archiving web pages. It provides an identical service to bookmarking sites such as Readability, Instapaper, and Pocket.
Save, classify and archive web pages
There are many reasons why Wallabag is an attractive alternative to these commecial services.
Instapaper has changed hands once, Readability was shutdown and Pocket has also changed hands was purchased by the Mozilla Foundation. For those who self-host one driving concern is keeping data on a platform that unsure of its future.
Also, with services like these it’s like storing your browser history on someone else’s computer… Not ideal.
In this tutorial we’re going to walk through setting up Wallabag and Packetriot using Docker. You’ll need Docker installed on your host PC. Since Docker is available for Windows, Mac and Linux this tutorial should cover most users.
We will setup Wallabag using the hostname assigned to your Packetriot tunnel. It’s stable and will not change, so it will work well for a persistently running service.
Using a custom domain or reserved subdomain can also be done and we’ll walk through the small tweaks later in the tutorial. I’ll discuss how to make these changes but it’s important to note that Wallabag doesn’t support multiple hostnames like some other services can.
Let’s get started!
Setting up Wallabag
Below is a Docker compose file with following services: Wallabag, MySQL, Redis and the Packetriot client.
We’ll need to generate some passwords for the Wallabag database and the root password for MySQL. We use the following openssl commands to create some random unique passwords.
[user@host] openssl rand -hex 8
5980ead1a6bbc050

[user@host] openssl rand -hex 8
36de4d81faff3b96
Run this command twice and perform the substitutions in the compose file below.
You can always use passwords that you remember instead of these random values. You will never be enter these passwords beyond the compose file so I would just keep the random passphrases.
This compose file is borrowed from Wallabag’s docker hub. It uses the convention to store images and the underlying MySQL data in /opt/wallabag. We’ll follow the convention and store the Packetriot client configuration in /opt/pktriot.
I would store the compose file in a separate directory, e.g.: /home/user/wallabag. My convention for deploying applications using docker is to put them separate directories. This way I can store the compose file and any other supporting files in one place. It prevents any confusion and is portable.
You can substitute any path values and use your own conventions. However, I wouldn’t skip mounting these paths from the host into the containers because it’ll enable easy backup, migration and updates.
Very important, the value for the environment variable SYMFONY__ENV__DOMAIN_NAME for Wallabag is currently set to https://domain.tld. This value will be updated later in the compose file after we configure our tunnel.
In this setup we’re deploying the Packetriot client alongside Wallabag and it’s dependencies. If you have multiple services you’re self-hosting you will probably want to tweak this setup so you can host more services behind a single client/tunnel.
version: '3'
services:
  wallabag:
    image: wallabag/wallabag:latest
    restart: unless-stopped
    environment:
      - MYSQL_ROOT_PASSWORD=5980ead1a6bbc050
      - SYMFONY__ENV__DATABASE_DRIVER=pdo_mysql
      - SYMFONY__ENV__DATABASE_HOST=db
      - SYMFONY__ENV__DATABASE_PORT=3306
      - SYMFONY__ENV__DATABASE_NAME=wallabag
      - SYMFONY__ENV__DATABASE_USER=wallabag
      - SYMFONY__ENV__DATABASE_PASSWORD=36de4d81faff3b96
      - SYMFONY__ENV__DATABASE_CHARSET=utf8mb4
      - SYMFONY__ENV__MAILER_HOST=127.0.0.1
      - SYMFONY__ENV__MAILER_USER=~
      - SYMFONY__ENV__MAILER_PASSWORD=~
      - SYMFONY__ENV__FROM_EMAIL=email@provider.com
      - SYMFONY__ENV__DOMAIN_NAME=https://domain.tld
    volumes:
      - /opt/wallabag/images:/var/www/wallabag/web/assets/images
  db:
    image: mariadb:latest
    restart: unless-stopped
    environment:
      - MYSQL_ROOT_PASSWORD=5980ead1a6bbc050
    volumes:
      - /opt/wallabag/data:/var/lib/mysql
  redis:
    image: redis:alpine
    restart: unless-stopped
  tunnel:
    container_name: pktriot_wallabag
    image: packetriot/pktriot:latest
    restart: unless-stopped
    volumes:
      - /opt/wallabag/pktriot:/data
Create a new directory called wallabag so we can copy the compose file in it. Start the containers with docker-compose up -d. Below are examples of the commands and their output.
[user@host] mkdir -p wallabag
[user@host] cd wallabag
[user@host:~/wallabag ] ls
docker-compose.yml

[user@host:~/wallabag ] docker-compose up -d
Creating network "wallabag_default" with the default driver
Creating wallabag_redis_1    ... done
Creating wallabag_wallabag_1 ... done
Creating pktriot_wallabag    ... done
Creating wallabag_db_1       ... done
All of the containers should be up and running.
[user@host:~/wallabag ] docker ps
CONTAINER ID        IMAGE                       COMMAND                  CREATED             STATUS              PORTS                             NAMES
db6a16270cec        mariadb                     "docker-entrypoint.s…"   18 seconds ago      Up 17 seconds       3306/tcp                          wallabag_db_1
3800d6322bbe        wallabag/wallabag           "/entrypoint.sh wall…"   18 seconds ago      Up 17 seconds       80/tcp, 0.0.0.0:32770->8080/tcp   wallabag_wallabag_1
4b938aa5ee2b        packetriot/pktriot:latest   "/usr/bin/pktriot --…"   19 seconds ago      Up 17 seconds                                         pktriot_wallabag
14cbbf5c6f7d        redis:alpine                "docker-entrypoint.s…"   19 seconds ago      Up 17 seconds       6379/tcp                          wallabag_redis_1
Packetriot setup and rules
To setup our client in the container we need to run the following command:
[user@host:~/wallabag ] docker exec -it pktriot_wallabag pktriot configure
Choose a path to the configuration file:
[1] /etc/pktriot/config.json
[2] /data/config.json
[3] /root/.pktriot/config.json

Input selection [#]: 2

Authenticate client with login credentials. Created account w/Google SSO? Use --url with 'configure'.

Email:
Choose option [2] to store the configuration in /data/config.json. This file will be available on your host in the path /opt/pktriot/config.json.
Be sure to chose a region that is closest to you geographically.
Email: user@email.com
Password:
Authenticated!

Choose the region for the edge server to connect to:
+------------------------+
| #   | Region           |
+------------------------+
| 1   | us-east          |
+------------------------+
| 2   | us-west          |
+------------------------+
| 3   | eu-central       |
+------------------------+
| 4   | asia-southeast   |
+------------------------+
| 5   | australia        |
+------------------------+
| 6   | us-south         |
+------------------------+

Input selection [#]: 1

Tunnel configuration:
  Hostname: autumn-lake-66612.pktriot.net
  Server: us-east-65319.packetriot.net
  IPv4: 159.203.126.35
  IPv6: 2604:a880:800:a1::dd:c001

Start the tunnel and visit URL to check its working:
  pktriot --config /data/config.json start
  https://autumn-lake-66612.pktriot.net

Detailed help and step-by-step tutorials:
  https://packetriot.com/docs
  https://packetriot.com/tutorials.

Need more support?
  Email: packetriot@gmail
  Twitter: @packetriot (please follow us, we like new friends :)
Make a note or copy of the hostname assigned to your tunnel. In our example the hostname assigned to this tunnel is autumn-lake-66612.pktriot.net so we’ll be using it throughout this tutorial.
If you ever need to retrieve this information again run this command:
[user@host:~/wallabag ] docker exec -it pktriot_wallabag pktriot info
Client:
  Hostname: autumn-lake-66612.pktriot.net
  Server: us-east-65319.packetriot.net
  IPv4: 159.203.126.35
  IPv6: 2604:a880:800:a1::dd:c001
We can now create a traffic rule to request HTTPS traffic using the hostname assigned to our tunnel and proxy to our soon-to-be-running Wallabag container.
[user@host:~/wallabag ] docker exec -it pktriot_wallabag pktriot tunnel http add --domain autumn-lake-66612.pktriot.net --destination wallabag_wallabag_1 --http 80
Note, we made the destination for our rule wallabag_wallabag_1 which is the name of our container once its instantiated. Using can use docker ps to confirm the name of the container on your host.
Virtual IP addresses can change when Docker or the host system is restarted, it’s always better to use the name of a container since Docker will resolve it to the containers IP address.
Restart the container, we now ready to update the domain variable in Wallabag container.
Update Wallabag container
Open up the compose file and substitute the hostname for the variable SYMFONY__ENV__DOMAIN_NAME with the hostname assigned to your tunnel. In our case the value will be https://autumn-lake-66612.pktriot.net. We will be hosting Wallabag using https only.
services:
  wallabag:
    image: wallabag/wallabag:latest
    restart: unless-stopped
    environment:
      - MYSQL_ROOT_PASSWORD=5980ead1a6bbc050
      - SYMFONY__ENV__DATABASE_DRIVER=pdo_mysql
      - SYMFONY__ENV__DATABASE_HOST=db
      - SYMFONY__ENV__DATABASE_PORT=3306
      - SYMFONY__ENV__DATABASE_NAME=wallabag
      - SYMFONY__ENV__DATABASE_USER=wallabag
      - SYMFONY__ENV__DATABASE_PASSWORD=ea17ed2a62e7ea2d
      - SYMFONY__ENV__DATABASE_CHARSET=utf8mb4
      - SYMFONY__ENV__MAILER_HOST=127.0.0.1
      - SYMFONY__ENV__MAILER_USER=~
      - SYMFONY__ENV__MAILER_PASSWORD=~
      - SYMFONY__ENV__FROM_EMAIL=email@provider.com
      - SYMFONY__ENV__DOMAIN_NAME=https://autumn-lake-66612.pktriot.net
    ports:
      - "8080"
    volumes:
      - /opt/wallabag/images:/var/www/wallabag/web/assets/images
To reflect this change in the container we need to delete the existing Wallabag container and recreate it. Since our data is stored on the host, via mounted paths, it’s safe. Note, we haven’t really create any data yet.
[user@host:~/wallabag ] docker rm -f wallabag_wallabag_1
This step feels a bit awkward but we have this chicken and egg problem with having to create configure tunnel to get the hostname, then we can complete the Wallabag section in our compose file.
Now run docker-compose up -d in the ~/wallabag directory to recreate it.
[user@host:~/wallabag ] docker-compose up -d
Our Wallabag container is up, let’s test it in out in our browser but visiting the https://autumn-lake-66612.pktriot.net.
Setting up Users in Wallabag
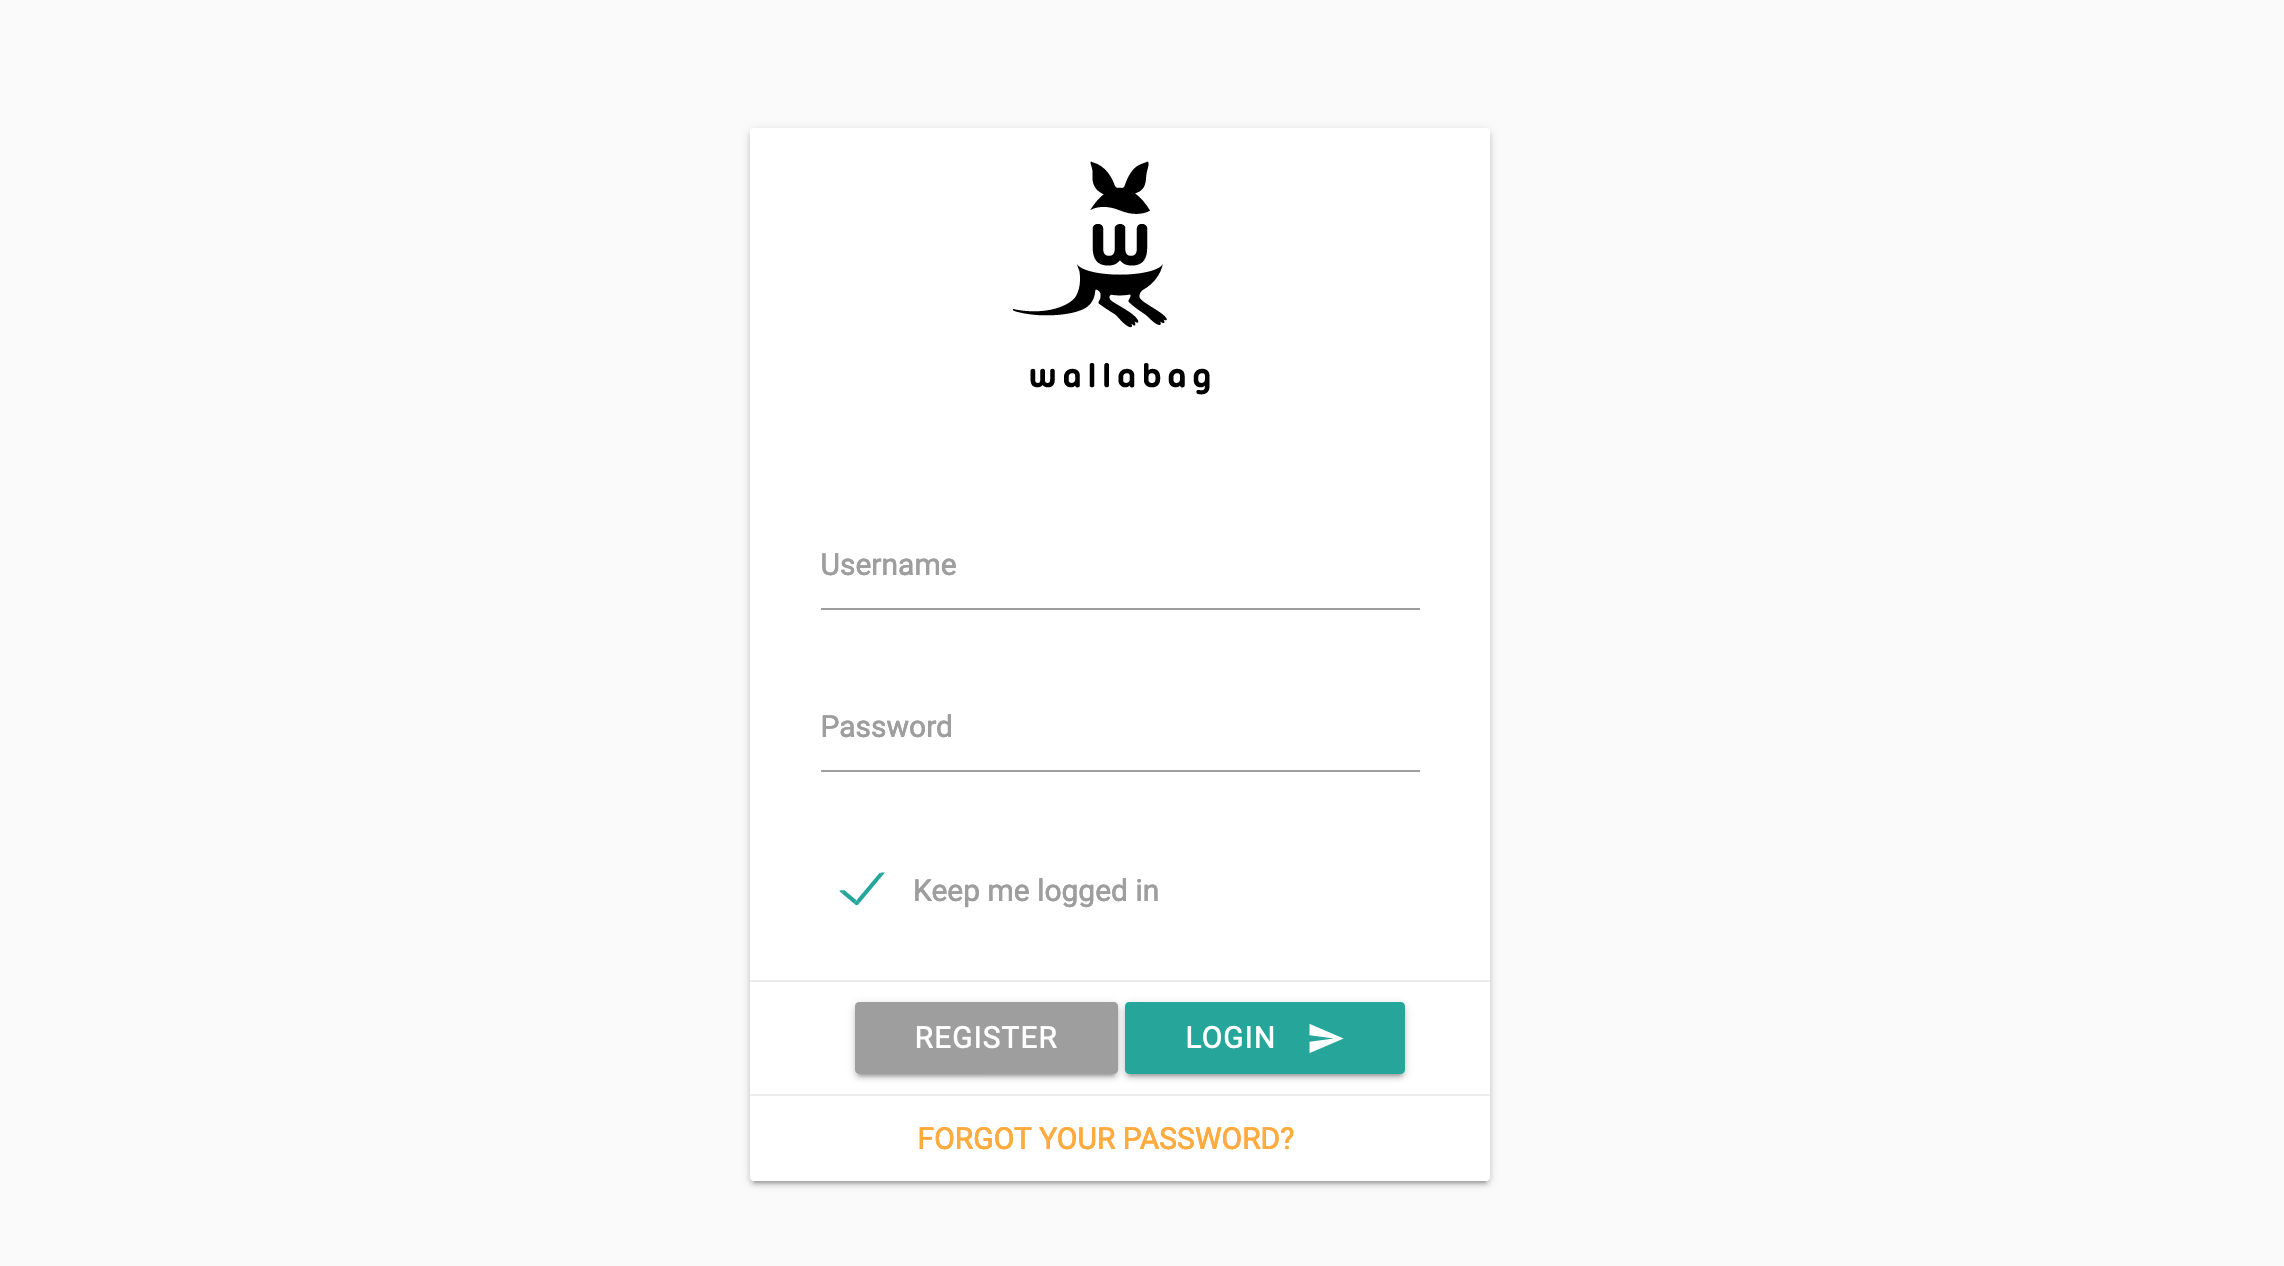
Let’s create our user by visiting our Wallabag instance using the URL https://autumn-lake-66612.pktriot.net. Your hostname will be different. You can click on the register button
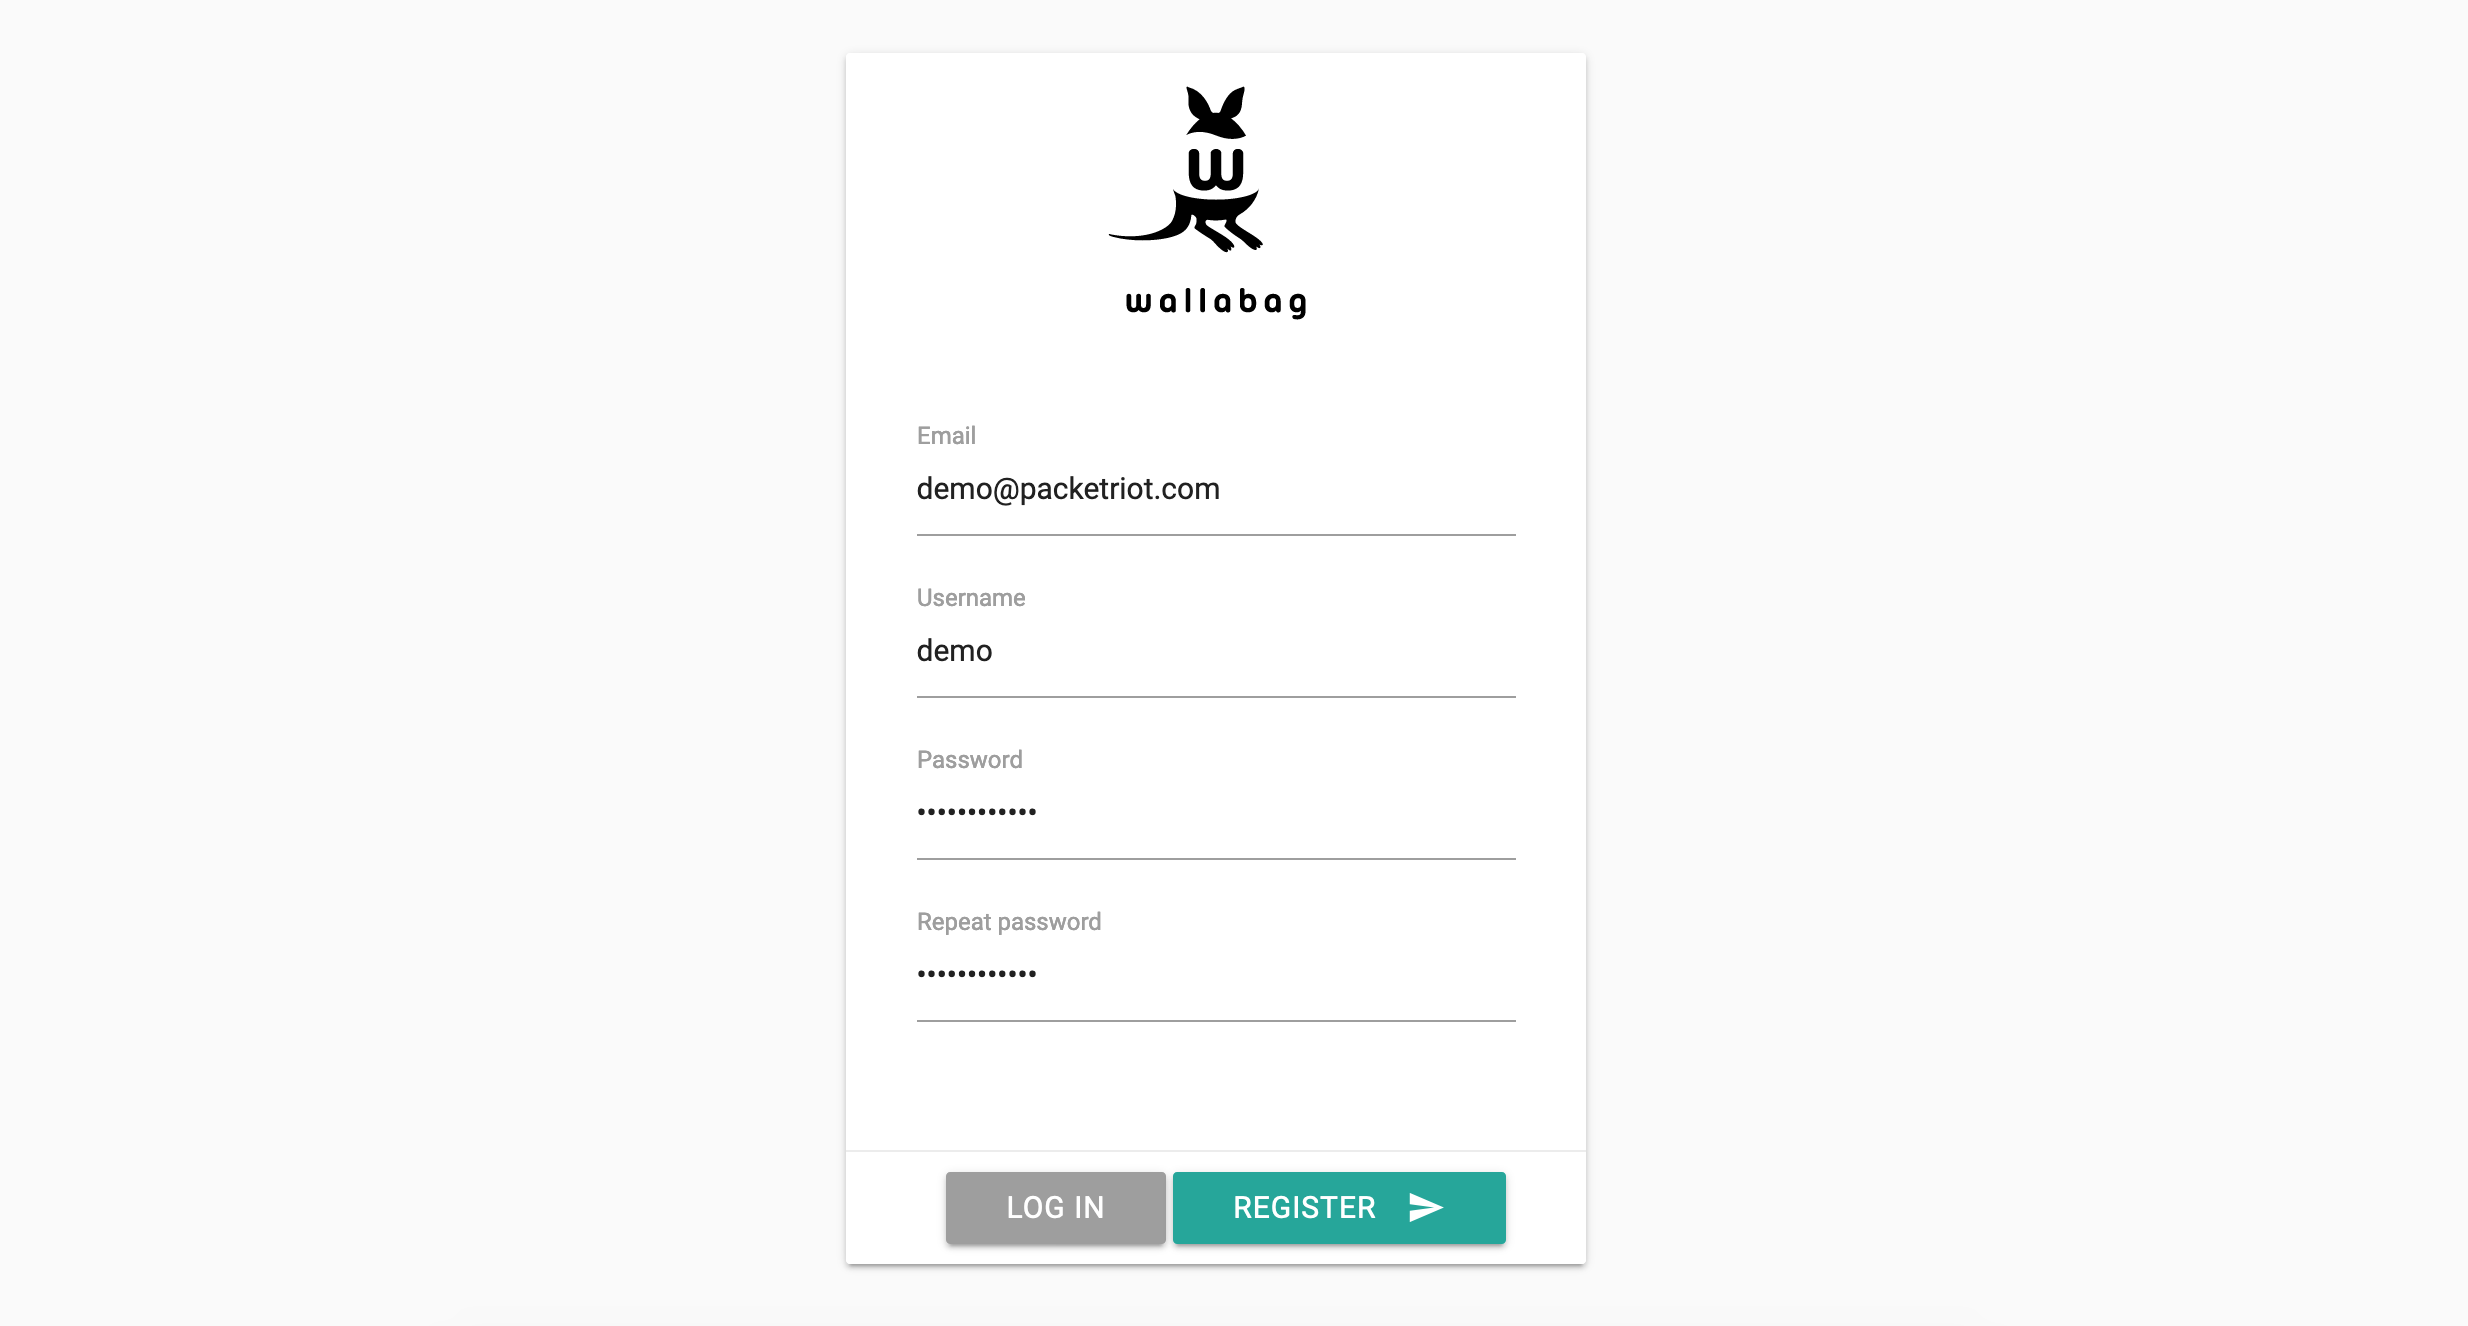
Wallabag will want the user to be confirmed via an emailed link. However, we are not setting up email in this installation so we have to confirm the user manually.
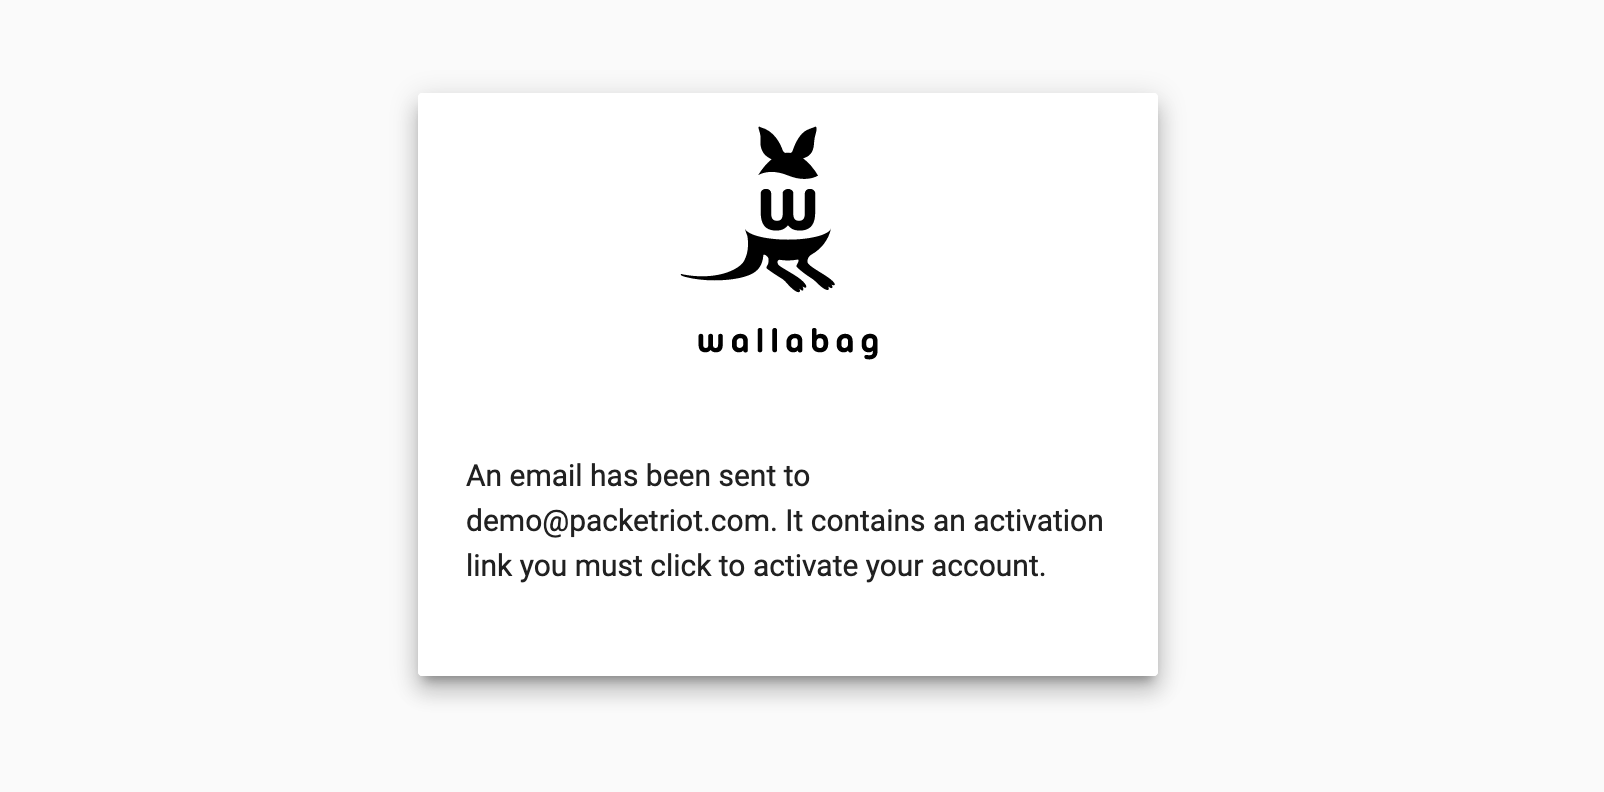
We need to step into the container by creating a shell into the Wallabag container and and changing to the /var/www/wallabag directory.
[user@host:~/wallabag ] docker exec -it wallabag_wallabag_1 sh

/ # cd /var/www/wallabag
/ # ls

CHANGELOG.md        GNUmakefile         README.md           composer.json       docker-compose.yml  scripts             vendor
COPYING.md          Gemfile             RELEASE_PROCESS.md  composer.lock       package.json        src                 web
CREDITS.md          Gemfile.lock        app                 data                phpunit.xml.dist    tests               webpack.config.js
Capfile             Makefile            bin                 docker              postcss.config.js   var                 yarn.lock
The console admin command is bin/console and we will use this to manually activate our newly created user.
This is a work-aorund to setting up email capability in Wallabag. I’m a user and big fan of Mailgun. Their service provides an HTTP API but also an encrypted (TLS) SMTP server with credentials that can be used for configuring email connectivity in web applications like Wallabag.
Let’s enable our user. We’ll first print all of our users and then activate the user we just created.
/var/www/wallabag # ./bin/console -e=prod wallabag:user:list

PHP Warning:  "continue" targeting switch is equivalent to "break". Did you mean to use "continue 2"? in /var/www/wallabag/vendor/doctrine/orm/lib/Doctrine/ORM/UnitOfWork.php on line 2636
PHP Warning:  "continue" targeting switch is equivalent to "break". Did you mean to use "continue 2"? in /var/www/wallabag/vendor/doctrine/orm/lib/Doctrine/ORM/UnitOfWork.php on line 2665
 ---------- --------------------- ------------- -----------
  username   email                 is enabled?   is admin?
 ---------- --------------------- ------------- -----------
  wallabag                         yes           yes
  demo       demo@packetriot.com   no            no
 ---------- --------------------- ------------- -----------

 [OK] 2/2 user(s) displayed.
Don’t mind these PHP warnings. You will see them in each time we execute a command. This is a warning from PHP, the language Wallabag is written in, warning about the use of a keyword in the language. Ignore…
Our user is here, lets activate it. We will specify the username demo in our command.
/var/www/wallabag # ./bin/console -e=prod fos:user:activate demo

PHP Warning:  "continue" targeting switch is equivalent to "break". Did you mean to use "continue 2"? in /var/www/wallabag/vendor/doctrine/orm/lib/Doctrine/ORM/UnitOfWork.php on line 2636
PHP Warning:  "continue" targeting switch is equivalent to "break". Did you mean to use "continue 2"? in /var/www/wallabag/vendor/doctrine/orm/lib/Doctrine/ORM/UnitOfWork.php on line 2665
User "demo" has been activated.

/var/www/wallabag #
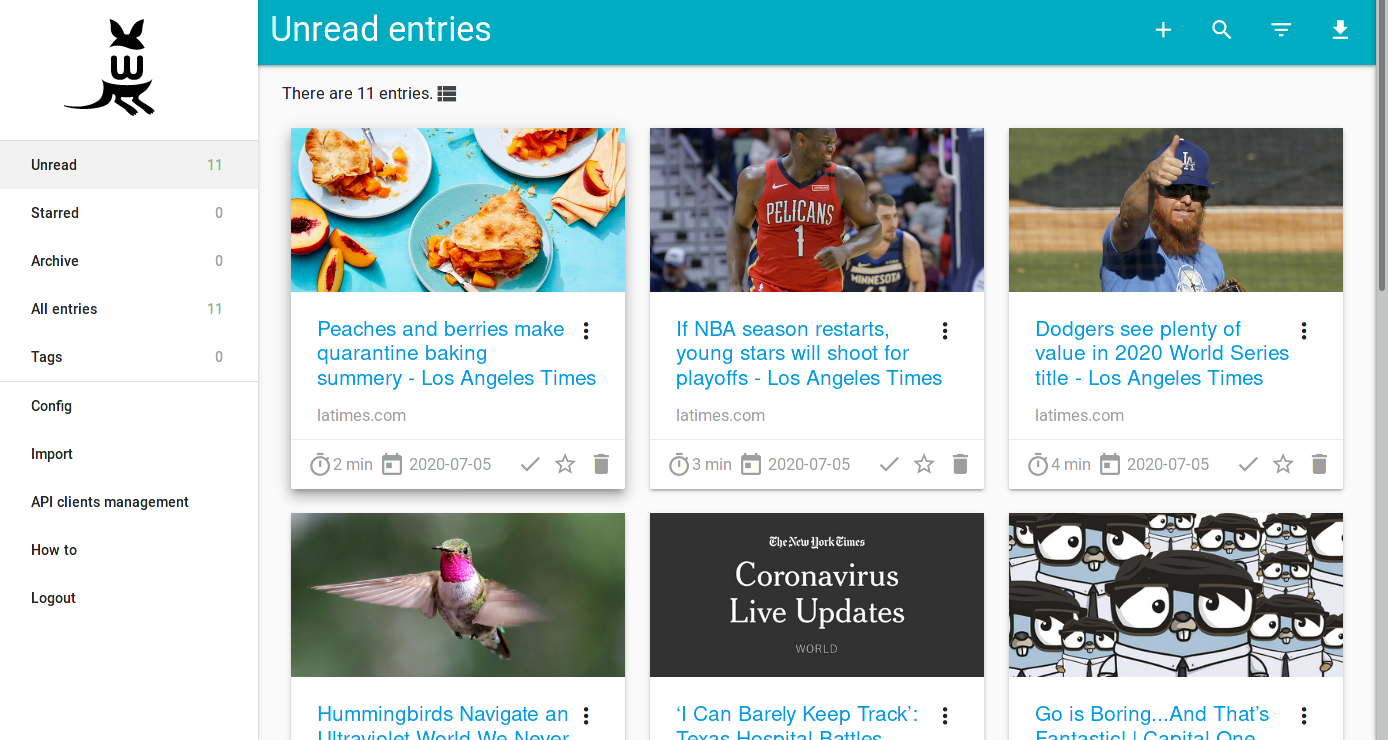
Now your user is activated. You can now log into the account you just created. Below is a screenshot of your account when you log in the first time.
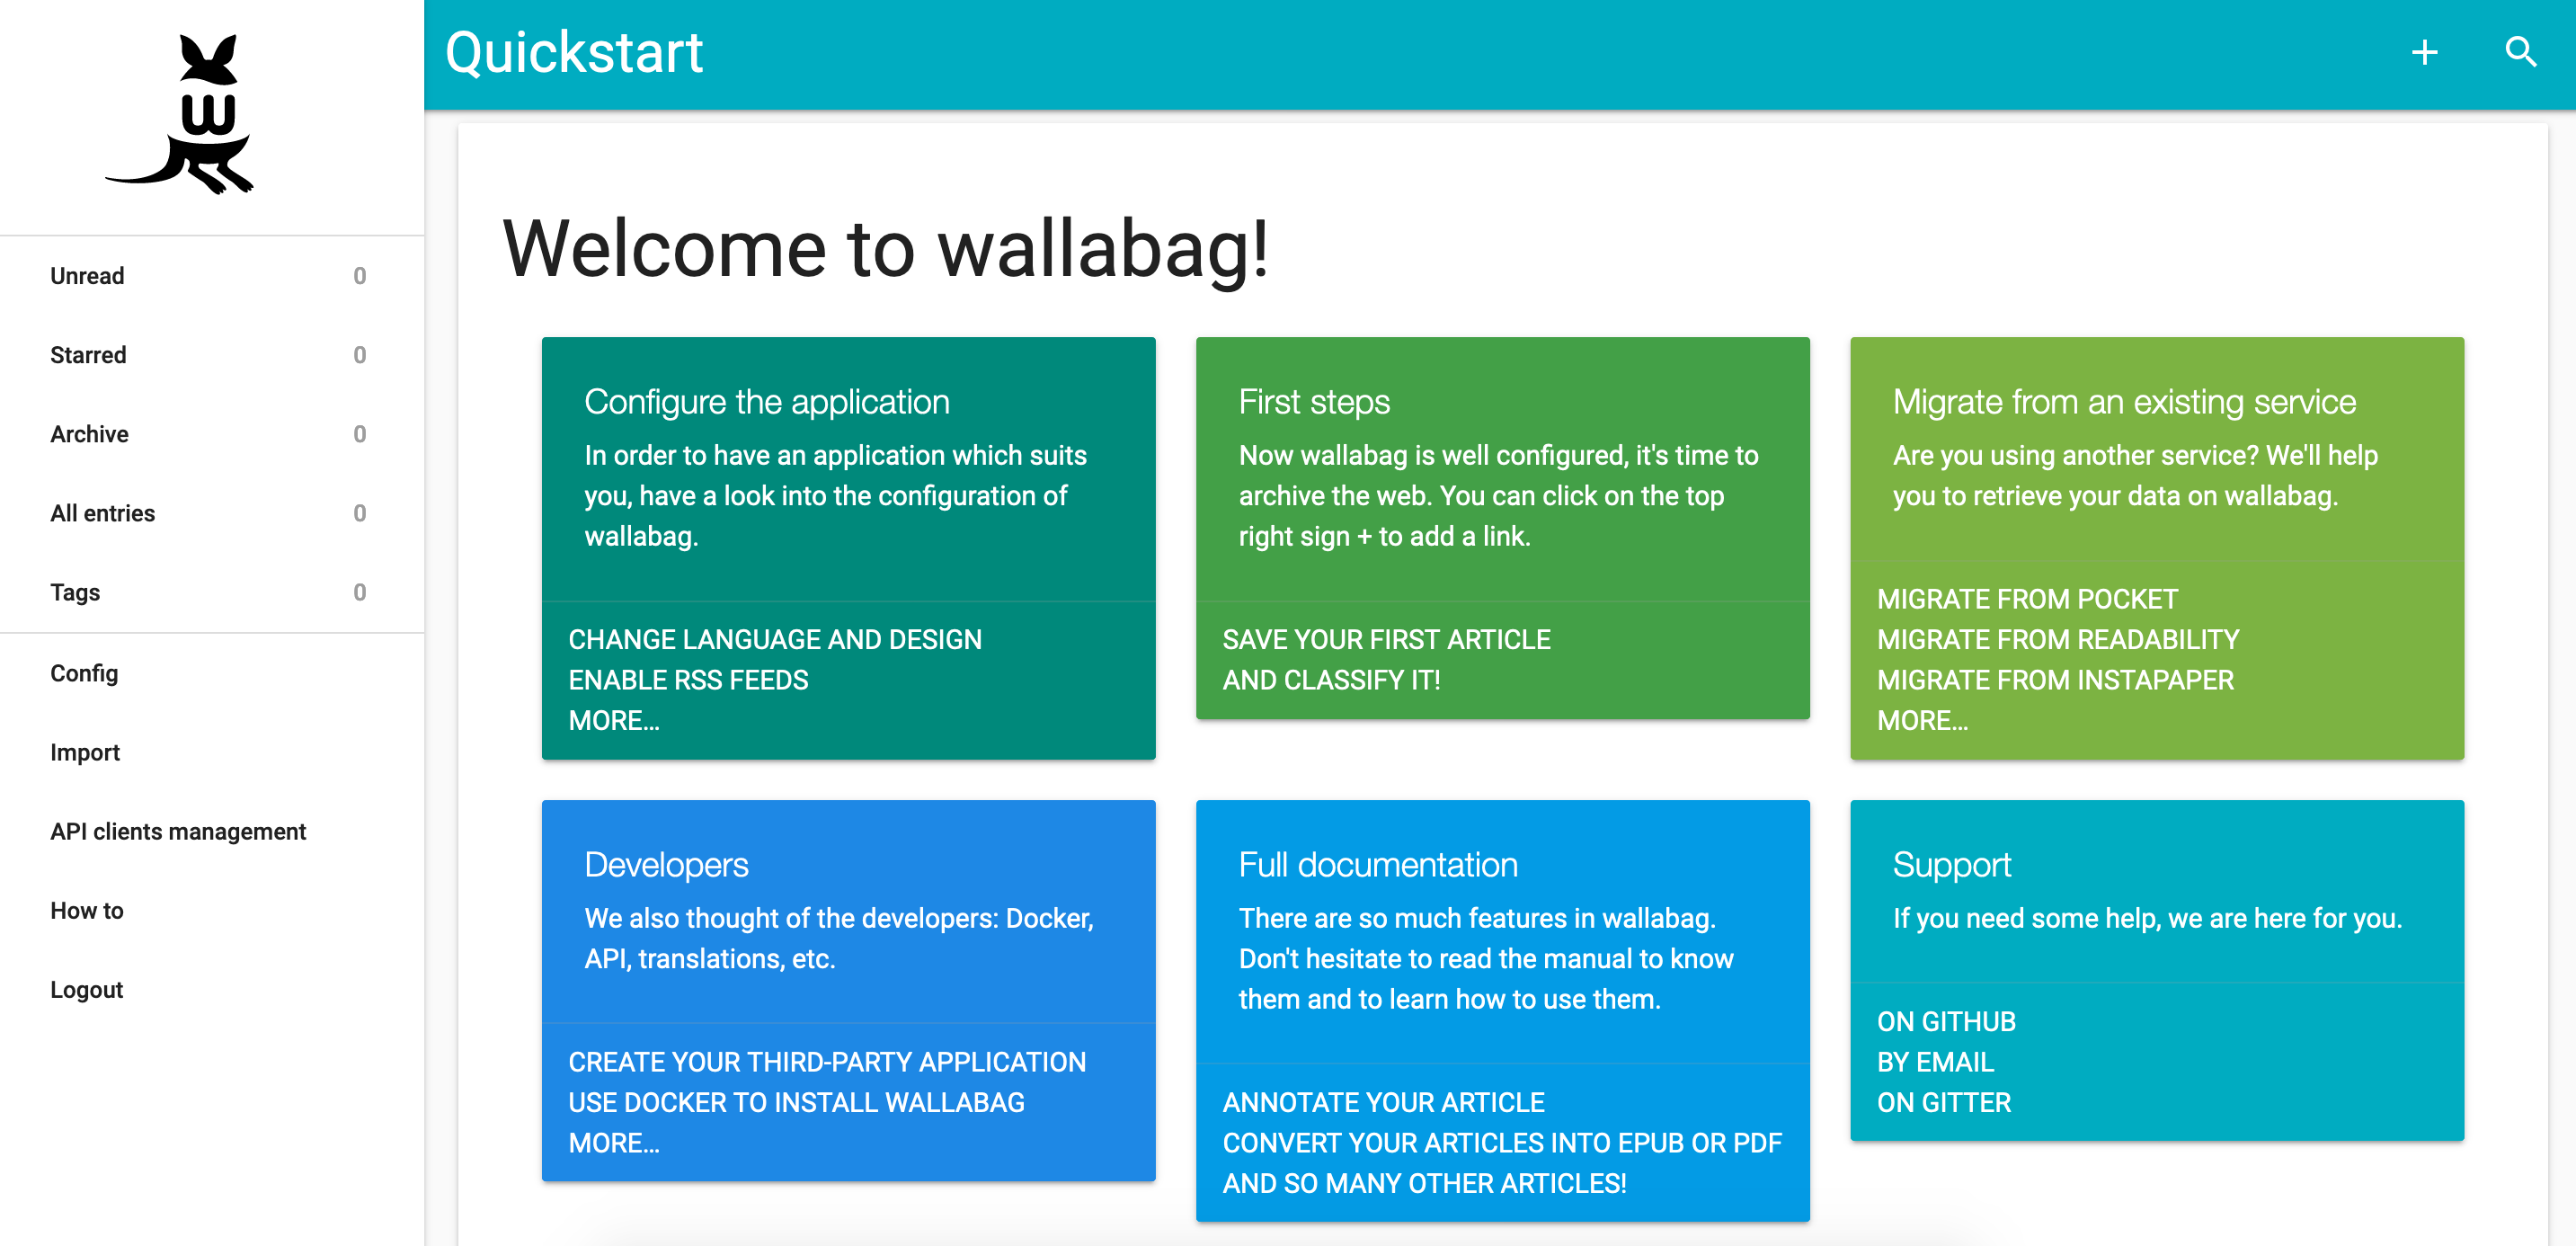
You can do this for any users that register for the system. It’s important to note that this will be an Internet facing service and bots or random people on the net may try to register. In some sense, this lack of email integration is an mechanism to prevent random people on the Internet from using your Wallabag instance.
There is setting in Wallabag to turn off user registration but it’s outside the scope of this tutorial.
Additional console commands can be found on this page.
Setup the browser extension
The browser extension for Wallabag is very useful and it provides an input field for tagging any pages that you’re archiving. I’m going to step through setting it up on Firefox. It’ will probably follow a similar workflow with other browsers.
You can install the browser extension for the following browsers:
Once you install the extension we need create some API credentials so that the extension can communicate to our Wallabag server. My one pet peeve with this extension is that it requires your password and it is stored in plain-text in your browsers local configuration directory.
This isn’t unlike other passwords that are stored in your browser but I’m putting this note here for your information. I’d suggest not reusing your bank password for Wallabag :)
You’ll need to create a client API token for the extension. Click on the API clients management item in the sidebar and then click on the button Create A New Client. You can provide any name for the client.
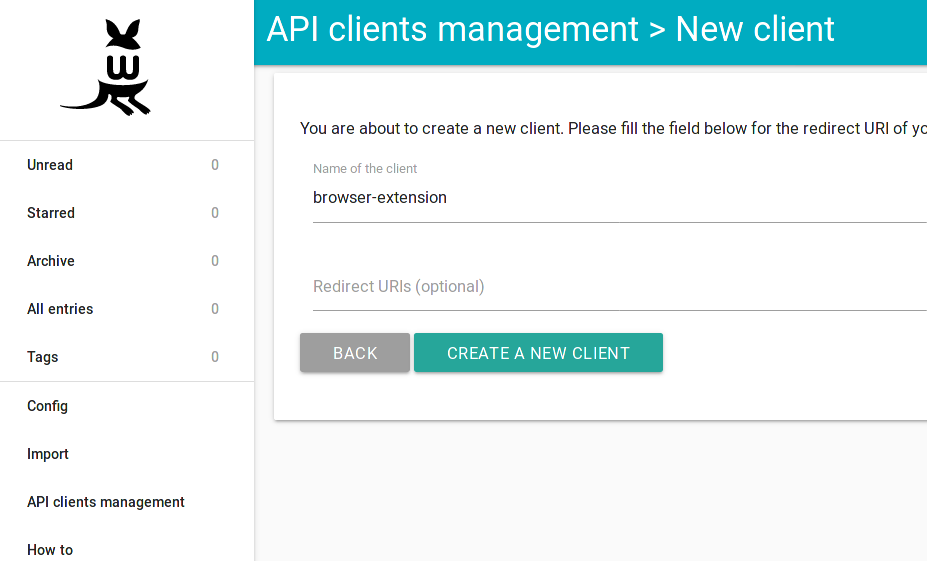
You will need to use the Client ID and Client Secret to configure the Wallabag extension.
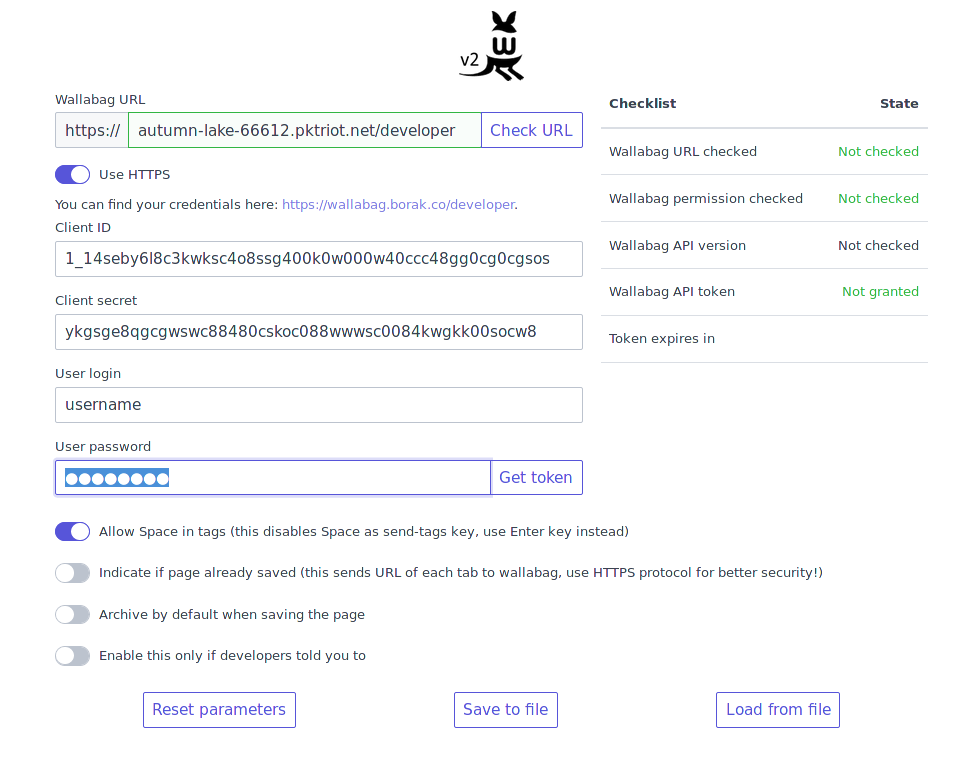
If things are setup correctly all of the fields will highlight green and it’ll visibly indicate to you that it’s able to connect to your Wallabag instance. Now you’re ready to convenient save and archive web pages!
Using a custom domain
In this section we’ll setup a custom domain. This step is a little different from the earlier section when we setup an HTTPS traffic rule using the hostname our tunnel is assigned.
When using a custom domain you will need to:
- Own a custom domain and
- Verify ownership of the domain by logging into your Packetriot account
You can do this by logging into your account on packetriot.com and visit the Domains section. Follow these steps to verify the domain.
Once verified you will want to create DNS records for your custom domain. When using the root domain you will want to use an A record and use IP of the Packetriot server you connect to. If you’re using a subdomain then a CNAME record can be used. Use the pktriot info command to print out this information for your tunnel.
Verify that your DNS records were setup correctly. In Linux or macOS you can use the following command to verify that.
[user@host ] dig @1.1.1.1 custom.domain.com
Once those prequiresites are performed we can create an HTTPS traffic rule using Let’s Encrypt for TLS and our custom domain.
[user@host:~/wallabag ] docker exec -it pktriot_wallabag pktriot tunnel http add --domain custom.domain.com --letsencrypt --destination wallabag_wallabag_1 --http 80
Restart the container for the new rule to take affect. It will take 20-30 seconds for Let’s Encrypt to complete it’s challenges and create a set of TLS certificates for your custom domain. The Packetriot client will automatically maintain and keep those certificate up-to-date.
Before we can continue, we need to update the compose file and recreate the container, similar to what we did before.
Updating Compose File
We will need to make a change to our Docker compose file that recreate our Wallabag container. Note, if you’re already setup your container you will need to delete it first.
If you used the compose file as it, minus the necessary substitutions, then the name for the Wallabag container should be wallabag_wallabag_1. Also, if you used mount points then this is a safe operation. If you removed the mount points then you’re potentially risking losing data…
[user@host ] docker ps

[user@host ] docker rm -f wallabag_wallabag_1`
We need to change the value for SYMFONY__ENV__DOMAIN_NAME to our custom domain wallabag.custom.com.
services:
  wallabag:
    image: wallabag/wallabag:latest
    restart: unless-stopped
    environment:
      - MYSQL_ROOT_PASSWORD=5980ead1a6bbc050
      - SYMFONY__ENV__DATABASE_DRIVER=pdo_mysql
      - SYMFONY__ENV__DATABASE_HOST=db
      - SYMFONY__ENV__DATABASE_PORT=3306
      - SYMFONY__ENV__DATABASE_NAME=wallabag
      - SYMFONY__ENV__DATABASE_USER=wallabag
      - SYMFONY__ENV__DATABASE_PASSWORD=ea17ed2a62e7ea2d
      - SYMFONY__ENV__DATABASE_CHARSET=utf8mb4
      - SYMFONY__ENV__MAILER_HOST=127.0.0.1
      - SYMFONY__ENV__MAILER_USER=~
      - SYMFONY__ENV__MAILER_PASSWORD=~
      - SYMFONY__ENV__FROM_EMAIL=email@provider.com
      - SYMFONY__ENV__DOMAIN_NAME=https://custom.domain.com
    ports:
      - "8080"
    volumes:
      - /opt/wallabag/images:/var/www/wallabag/web/assets/images
Now we can recreate the container.
[user@host ] cd ~/wallabag

[user@host:~/wallabag ] docker-compose up -d
We’re done with setting up Wallabag with our custom domain. The Packetriot client will maintain our certificates from Let’s Encrypt which removes one thing to worry about.
Using a reserved subdomain
Users with paid accounts are provided a varied numbef of subdomains that can be reserved from the domains managed by Packetriot. Reserved these domains is simple, visit the Subdomains section after logging into packetriot.com.
Once there choose and reserve a subdomain, e.g. my-wallabag.pktriot.net.
You will need to performed steps similar to what we did with custom domains in the section above. However, you will need to use Let’s Encrypt. Instead the traffic rule will use the subdomain you reserved.
We’ve provided an example below.
[user@host:~/wallabag ] docker exec -it pktriot_wallabag pktriot tunnel http add --domain my-wallabag.pktriot.net --letsencrypt --destination wallabag_wallabag_1 --http 80
You will need to restart the container to let the rule take affect and be sure to update the compose file and substitute the value for the domain name used for your Wallabag server. You will need to delete and re-create the container.
Software Updates
With this installation keeping up with software should be easy, this is because all of our application data for all of our containers (Wallbag, Packetriot, MySQL) is being stored on the host, not inside the container.
Below are commands you can run to refresh all the software for all of the containers.
[user@host ] cd ~/wallbag

# remove exisitng containers
[user@host:~/wallabag ] docker-compose stop

# pull down updates
[user#host:~/wallabag ] docker pull wallabag/wallabag:latest
[user#host:~/wallabag ] docker pull mariadb:latest
[user#host:~/wallabag ] docker pull redis:alpine
[user#host:~/wallabag ] docker pull pktriot_wallabag


# recreate the containers
[user@host:~/wallabag ] docker-compose up -d
Conclusion
I would highly recommend Wallabag to anyone that may be using alternatives like Pocket or Instapaper. It took some work to get Wallabag setup but we covered custom domains, reserved subdomains, and the browser extension which I recommand with the cavaeat to not reuse a sensitive password.
Please contact us if you have any questions or run into any trouble, we’ll do our best to help. We did not cover all options and configurations for Wallabag but we did provide enough information to setup and administer it.
We hope you enjoyed this tutorial, please share if this was helpful and follow us on Twitter @packetriot for updates and notifications when we write another self-hosting tutorial.
Cheers!