Private File Hosting with Nextcloud
Published at April 16, 2019 · 7 min read
Share on:Nextcloud is a popular open source client-server application that enables users to store and share files. It’s identical to services like Dropbox, OneDrive, and Google Drive. Nextcloud provides additional services such as video conferencing, audio chat and desktop-sharing. File-sharing is the most popular reason many choose to use Nextcloud. It’s open source philosphy, ability to self-host, control of your data and pedigree (it’s been around for years) also make it a popular option.
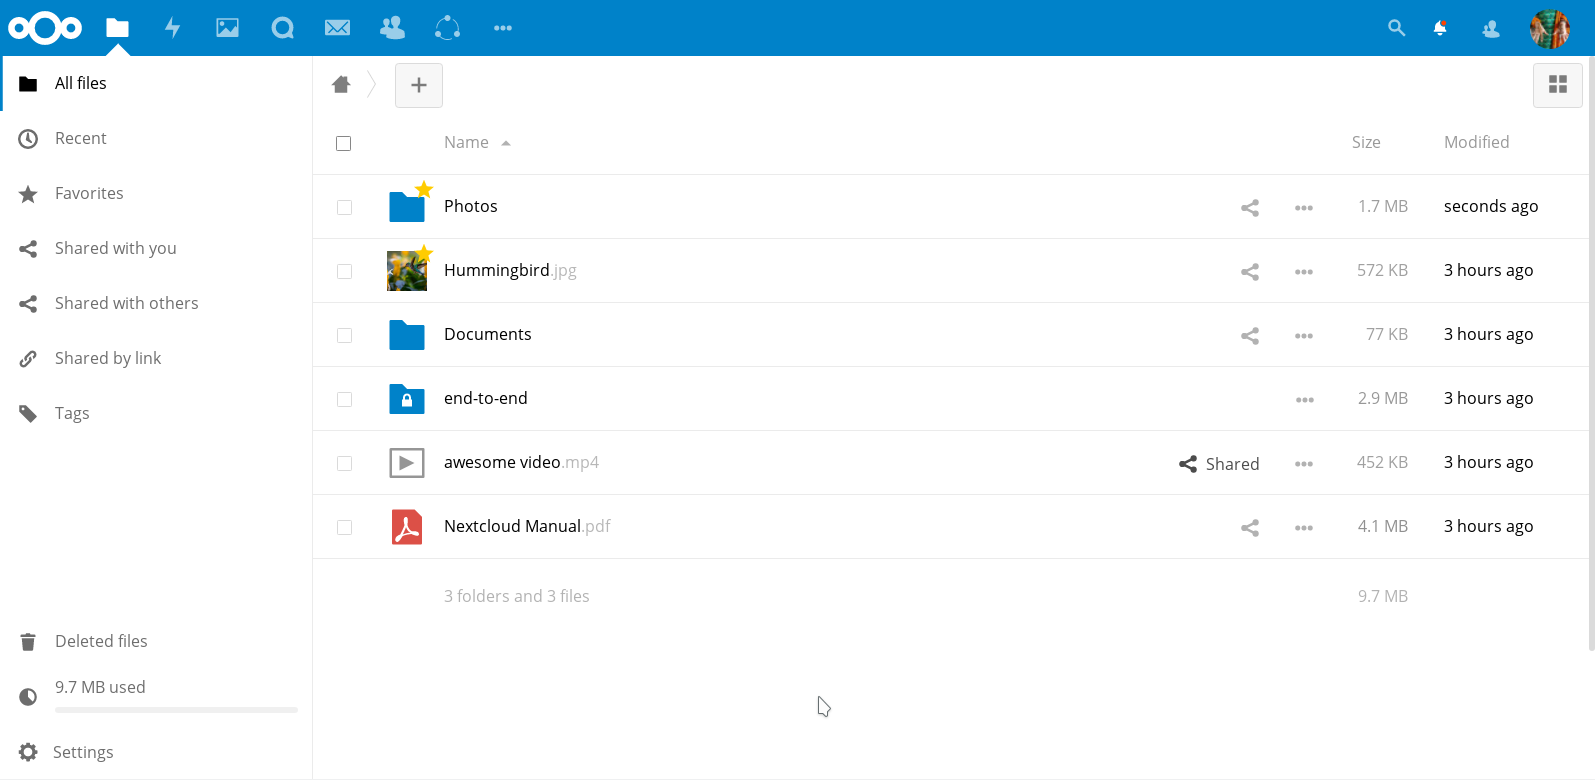
Nextcloud offers on-premise file storage hosting and more.
In this tutorial we’re going to configure and setup a tunnel using Packetriot, setup Nextcloud using a Docker container, create new DNS records for a custom domain and finally create traffic rules to relay traffic to our domain and forward to the container.
Configure Tunnel
Download the latest version of the Packetriot client for your platform. We’ll be using a stand-alone program in this tutorial. Unpack the archive and we can begin by first configuring tunnel.
# authenticate and choose a region for your server
[user@host] pktriot configure

Authenticate this client by visiting this URL:
https://packetriot.com/client/identauth/be63fcd2e1...

Identified and authenticated!

Choose the region for the edge-server to connect to:
+--------------------+
| #   | Region       |
+--------------------+
| 1   | us-east      |
+--------------------+
| 2   | us-west      |
+--------------------+
| 3   | eu-central   |
+--------------------+

Input selection [#]: 1

# print info on the edge-server and your tunnel
[user@host] pktriot info
Client:
	Hostname: small-dust-63699.pktriot.net
	Server: us-east-65319.packetriot.net
	IP: 159.203.126.35

# give a descriptive name to your tunnel.
[user@host] pktriot edit --name "nextcloud"

# start the tunnel and check its function by visiting http://small-dust-63699.pktriot.net
# in your browser
[user@host] pktriot start
Connecting...

Running HTTP services:
+----------------------------------------------------------------------------------------------+
| Domain                         | Destination   | HTTP   | Secure   | TLS   | Document Root   |
+----------------------------------------------------------------------------------------------+
| small-dust-63699.pktriot.net   |               | 0      | false    | --    | --              |
+----------------------------------------------------------------------------------------------+
Setup Nextcloud
Using the Docker container is the easiest and fastest way to setup Nextcloud. In this tutorial we’re going to setup Nextcloud using basic options. I don’t recommend this option for persistent setups, but for testing it will help get us up and running quickly.
You’ll want to read their installation page on Github to properly setup Nextcloud using mounted volumes and linked Maria/Postgres database containers for a robust setup.
With that, let’s create our Nextcloud container:
[user@host] docker run -d --restart always -p 8080:80 nextcloud

[user@host] docker ps
CONTAINER ID        IMAGE                       COMMAND                  CREATED              STATUS                 PORTS                    NAMES
28a1ced02bed        nextcloud                   "/entrypoint.sh apac…"   About a minute ago   Up About a minute      0.0.0.0:8080->80/tcp     zen_euclid
We can browse and setup our Nextcloud installation by inputting http://127.0.0.1:8080 in our browser. I suggest setting the administrative user first before exposing it to the Internet without any encryption. There are some options you can change but I recommend keeping everything as default. This tutorial isn’t going to cover the broad options for setting Nextcloud so defaults are safest.
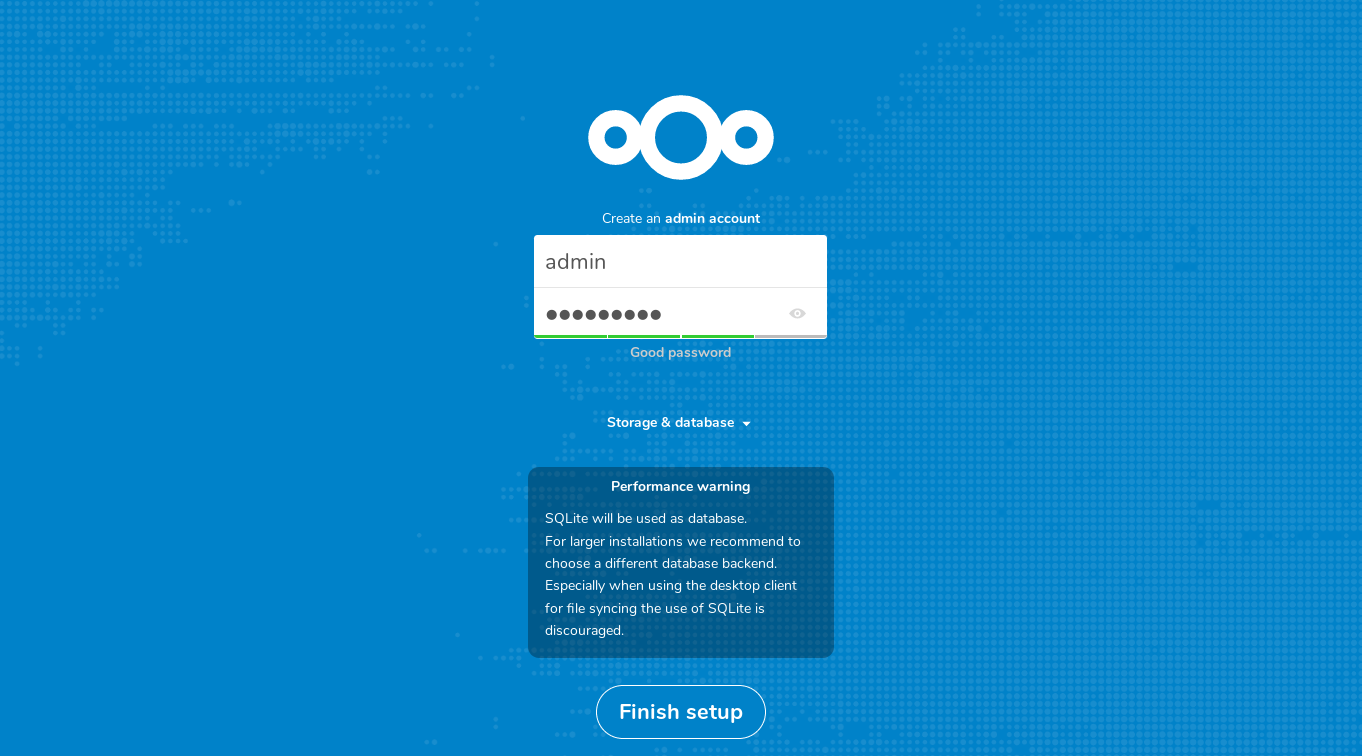
Setup your admin user on first-run.
You need to enter a username and password and click the Finish setup button. It may take some time for Nextcloud to set itself up internally, once it’s completed it’ll take you to the main page for the admin user and present a walk-through.
Before we wrap our Nextcloud, we have one final step. We plan to use a custom domain for our Nextcloud nextcloud.packetdemo.com, so we’ll need to tweak a configuration file in Nextcloud so that it’ll function correctly with that domain name. The container doesn’t have any built-in editors, so we’ll need to copy the configuration file to our host, modify it, copy it back and reset the permissions.
Follow the steps below but remember to make the changes for your custom domain.
[user@host] docker exec zen_euclid ls -l /var/www/html/config
total 72
-rw-r--r--. 1 www-data root        60 Jun 29 15:21 apache-pretty-urls.config.php
-rw-r--r--. 1 www-data root        70 Jun 29 15:21 apcu.config.php
-rw-r--r--. 1 www-data root       377 Jun 29 15:21 apps.config.php
-rw-r-----. 1 www-data www-data   777 Jun 29 15:33 config.php
-rw-r--r--. 1 www-data root     52413 Jun 29 15:21 config.sample.php
-rw-r--r--. 1 www-data root       280 Jun 29 15:21 redis.config.php

[user@host] docker cp zen_euclid:/var/www/html/config/config.php .
The configuration file is written in PHP. You’ll see that there is a property called “trusted_domains” that contains an array of domain names. We want to add a new value to that array for our custom domain. Using your favorite editor, make the following changes from this:
  'trusted_domains' =>
  array (
    0 => '127.0.0.1:8080',
  ),
To this:
  'trusted_domains' =>
  array (
    0 => '127.0.0.1:8080',
    1 => 'nextcloud.packetdemo.com',
  ),
Our domain was added to the list of trusted_domains so we now need to copy it back into the container. However, you’ll see that the ownership and permissions do not match what the file had when we copied it originally. We’ll need to manually change them back.
[user@host] docker cp config.php zen_euclid:/var/www/html/config/config.php

[user@host] docker exec zen_euclid ls -l /var/www/html/config
total 72
-rw-r--r--. 1 www-data root    60 Jun 29 15:21 apache-pretty-urls.config.php
-rw-r--r--. 1 www-data root    70 Jun 29 15:21 apcu.config.php
-rw-r--r--. 1 www-data root   377 Jun 29 15:21 apps.config.php
-rw-r-----. 1     1000 1000   814 Jun 29 15:42 config.php
-rw-r--r--. 1 www-data root 52413 Jun 29 15:21 config.sample.php
-rw-r--r--. 1 www-data root   280 Jun 29 15:21 redis.config.php

[user@host] docker exec zen_euclid chown www-data:root /var/www/html/config/config.php

[user@host] docker exec zen_euclid ls -l /var/www/html/config
total 72
-rw-r--r--. 1 www-data root    60 Jun 29 15:21 apache-pretty-urls.config.php
-rw-r--r--. 1 www-data root    70 Jun 29 15:21 apcu.config.php
-rw-r--r--. 1 www-data root   377 Jun 29 15:21 apps.config.php
-rw-r-----. 1 www-data root   814 Jun 29 15:42 config.php
-rw-r--r--. 1 www-data root 52413 Jun 29 15:21 config.sample.php
-rw-r--r--. 1 www-data root   280 Jun 29 15:21 redis.config.php
For the container to realize the changes we’ve made we’ll need to restart it using the command docker restart zen_euclid.
Setup Domain Records
We’re ready to setup some DNS records for our custom domain, packetdemo.com. We’ll create a CNAME record called nextcloud that will be an alias to small-dust-63699.pktriot.net, the hostname assigned to our tunnel.
Before we can create any traffic rules using our domain, we’ll need to verify that we own the domain. Visit the Domains section in the Packetriot dashboard to verify the ownership of your custom domain.
A value for a TXT record will be generated and you’ll need to add it to the nameserver that is managing your domains. Packetriot will check that a TXT record with this unique, randomly generated, value exists. Once it finds it will set you as the owner of this domain. It may take 1-2 minutes for Packetriot to verify ownership.
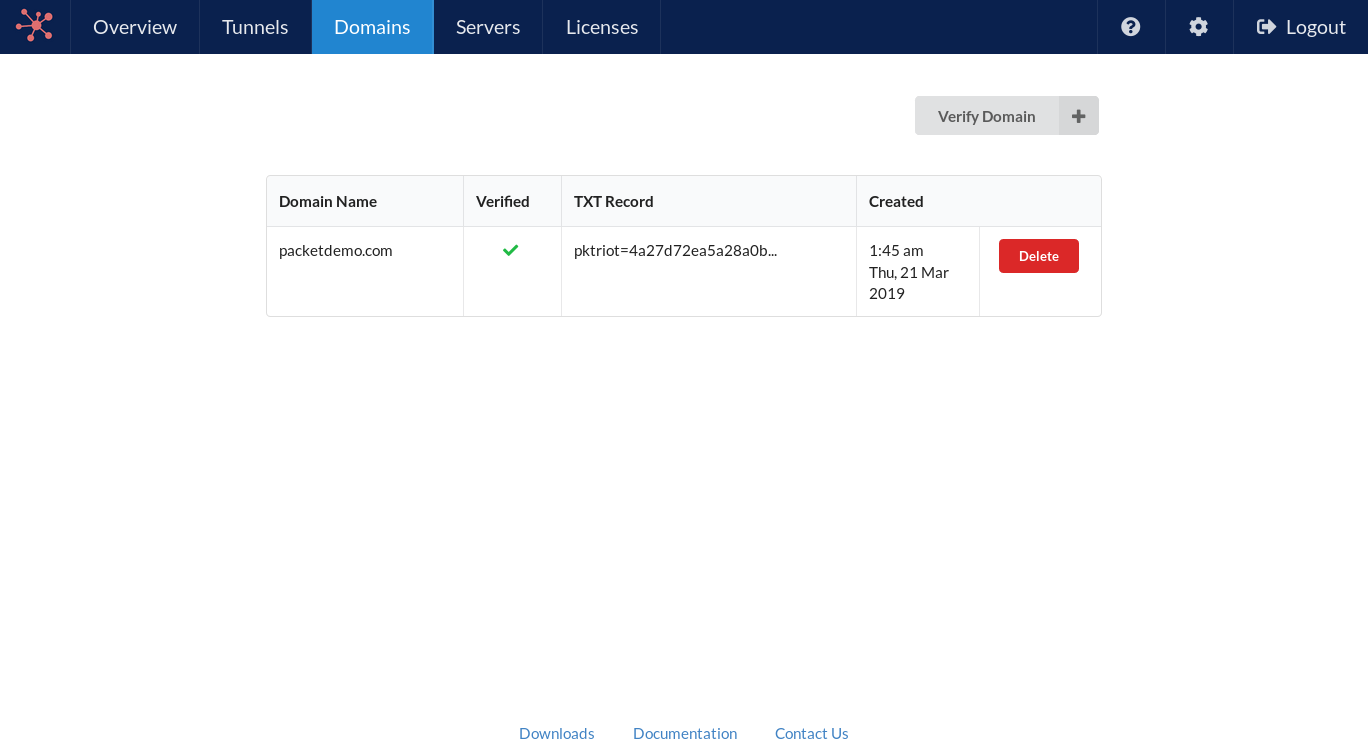
Verifying domain ownership.
This table below illustrates the records we created in these steps, and some default records for the root @ domain and www subdomain that are normally generated by registrars.
| Type | Hostname | Value | TTL |
|---|---|---|---|
| A | packetdemo.com | 1.2.3.4 | 3600 |
| CNAME | www.packetdemo.com | packetdemo.com | 3600 |
| CNAME | nextcloud.packetdemo.com | small-dust-63699.pktriot.net | 1800 |
| TXT | packetdemo.com | pktriot=fs234jh… | 1800 |
Setup Traffic Rules
This is our final step. Our tunnel is configured and the Nextcloud container was setup and updated to use our custom domain. We verified ownership of the domain and created a CNAME record for the domain nextcloud.packetdemo.com that is pointing the hostname assigned to our tunnel small-dust-63699.pktriot.net. Now we just need to create a rule that will request traffic to our custom domain to be relayed to our Packetriot client and then proxied upstream to our container.
We want our connection to use HTTPS and with Let’s Encrypt it will be easy to secure the traffic to our Nextcloud install. We also want all connections to use HTTPS, so redirect insecure HTTP traffic to HTTPS will help us with that. The following commands will create our traffic rule and perform all of these requirements.
[user@host] pktriot --config demo.json info
Client:
	Hostname: white-darkness-82631.pktriot.net
	Server: us-east-65319.packetriot.net
	IP: 159.203.126.35

[user@host] pktriot --config demo.json route http add --domain nextcloud.packetdemo.com --letsencrypt --redirect --destination 127.0.0.1 --http 8080

[user@host] pktriot --config demo.json start
Connecting...

Running HTTP services:
+------------------------------------------------------------------------------------------+
| Domain                     | Destination   | HTTP   | Secure   | TLS   | Document Root   |
+------------------------------------------------------------------------------------------+
| nextcloud.packetdemo.com   | 127.0.0.1     | 8080   | true     | 443   | --              |
+------------------------------------------------------------------------------------------+
When we visit our domain for the first time there will be a slight delay. That delay is caused by the Packetriot client setting up TLS certificates with Let’s Encrypt for the very first time. For this point on the client will take care of updating them as well.
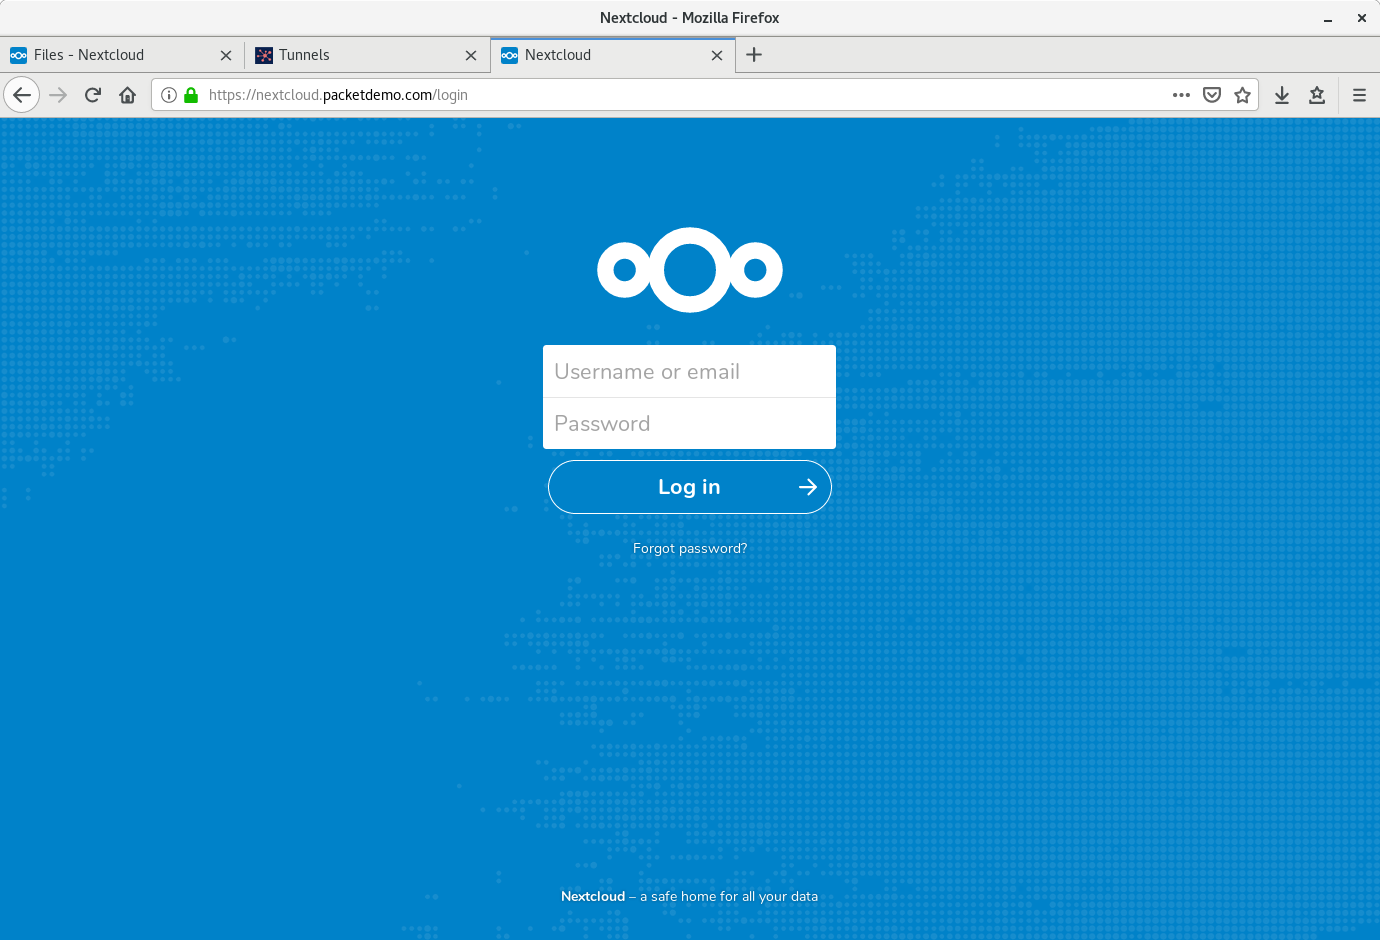
Visiting our Nextcloud with HTTPS.
That completes our tutorial for setting up Nextcloud and exposing it to the Internet securely using Packetriot. Packetriot will work on any network and with any Internet service provider. Typically, ISPs will circulate IP addresses, but this will not affect the connectivity of the tunnel.
I hope this tutorial was helpful. Nextcloud is a great application for privately hosting and sharing files. Have any feedback or comments? Please tweet or DM on Twitter. Or just contact us via email.
Cheers!
The Packetriot team